Introducing: Brockton Village 1
This project is Eco-Flats’ first fully rental triplex. Before this, Tom had developed duplex and triplex buildings that included his family’s primary residence. With Brockton Village 1, Eco-Flats branched out into rental-only territory, with the same all-electric and sustainable ethos of his and Solares Architecture’s previous projects.
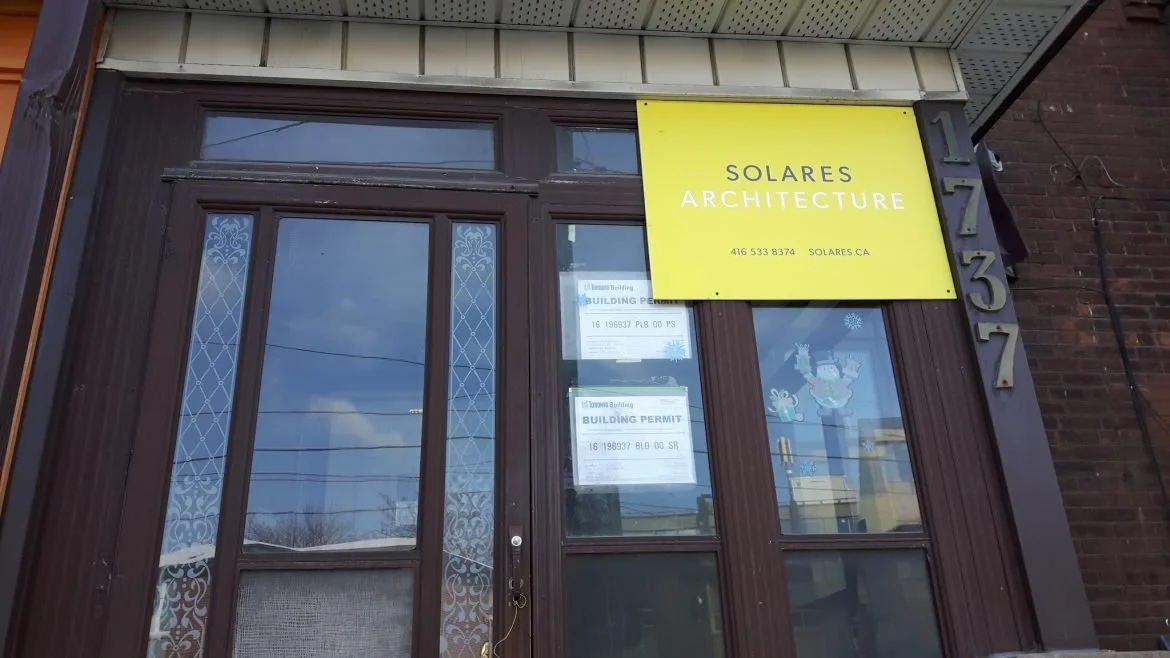
Tom and his spouse Christine Lolley of Solares Architecture are experts at buying old homes in dire need of care and turning them into efficient buildings. First was the Solares office at Dufferin and College. Then came Roncesvalles 1, a text-book fixer upper in Toronto with an unfinished basement and tiny cramped quarters, which the pair designed and renovated into their current (and CGB award-winning!) home.
The couple brainstormed ideas for a new undertaking: an energy efficient, all-electric apartment complex —practically mythical in the city’s housing market at the time. And along came Brockton Village 1.
Loving the Neighbourhood
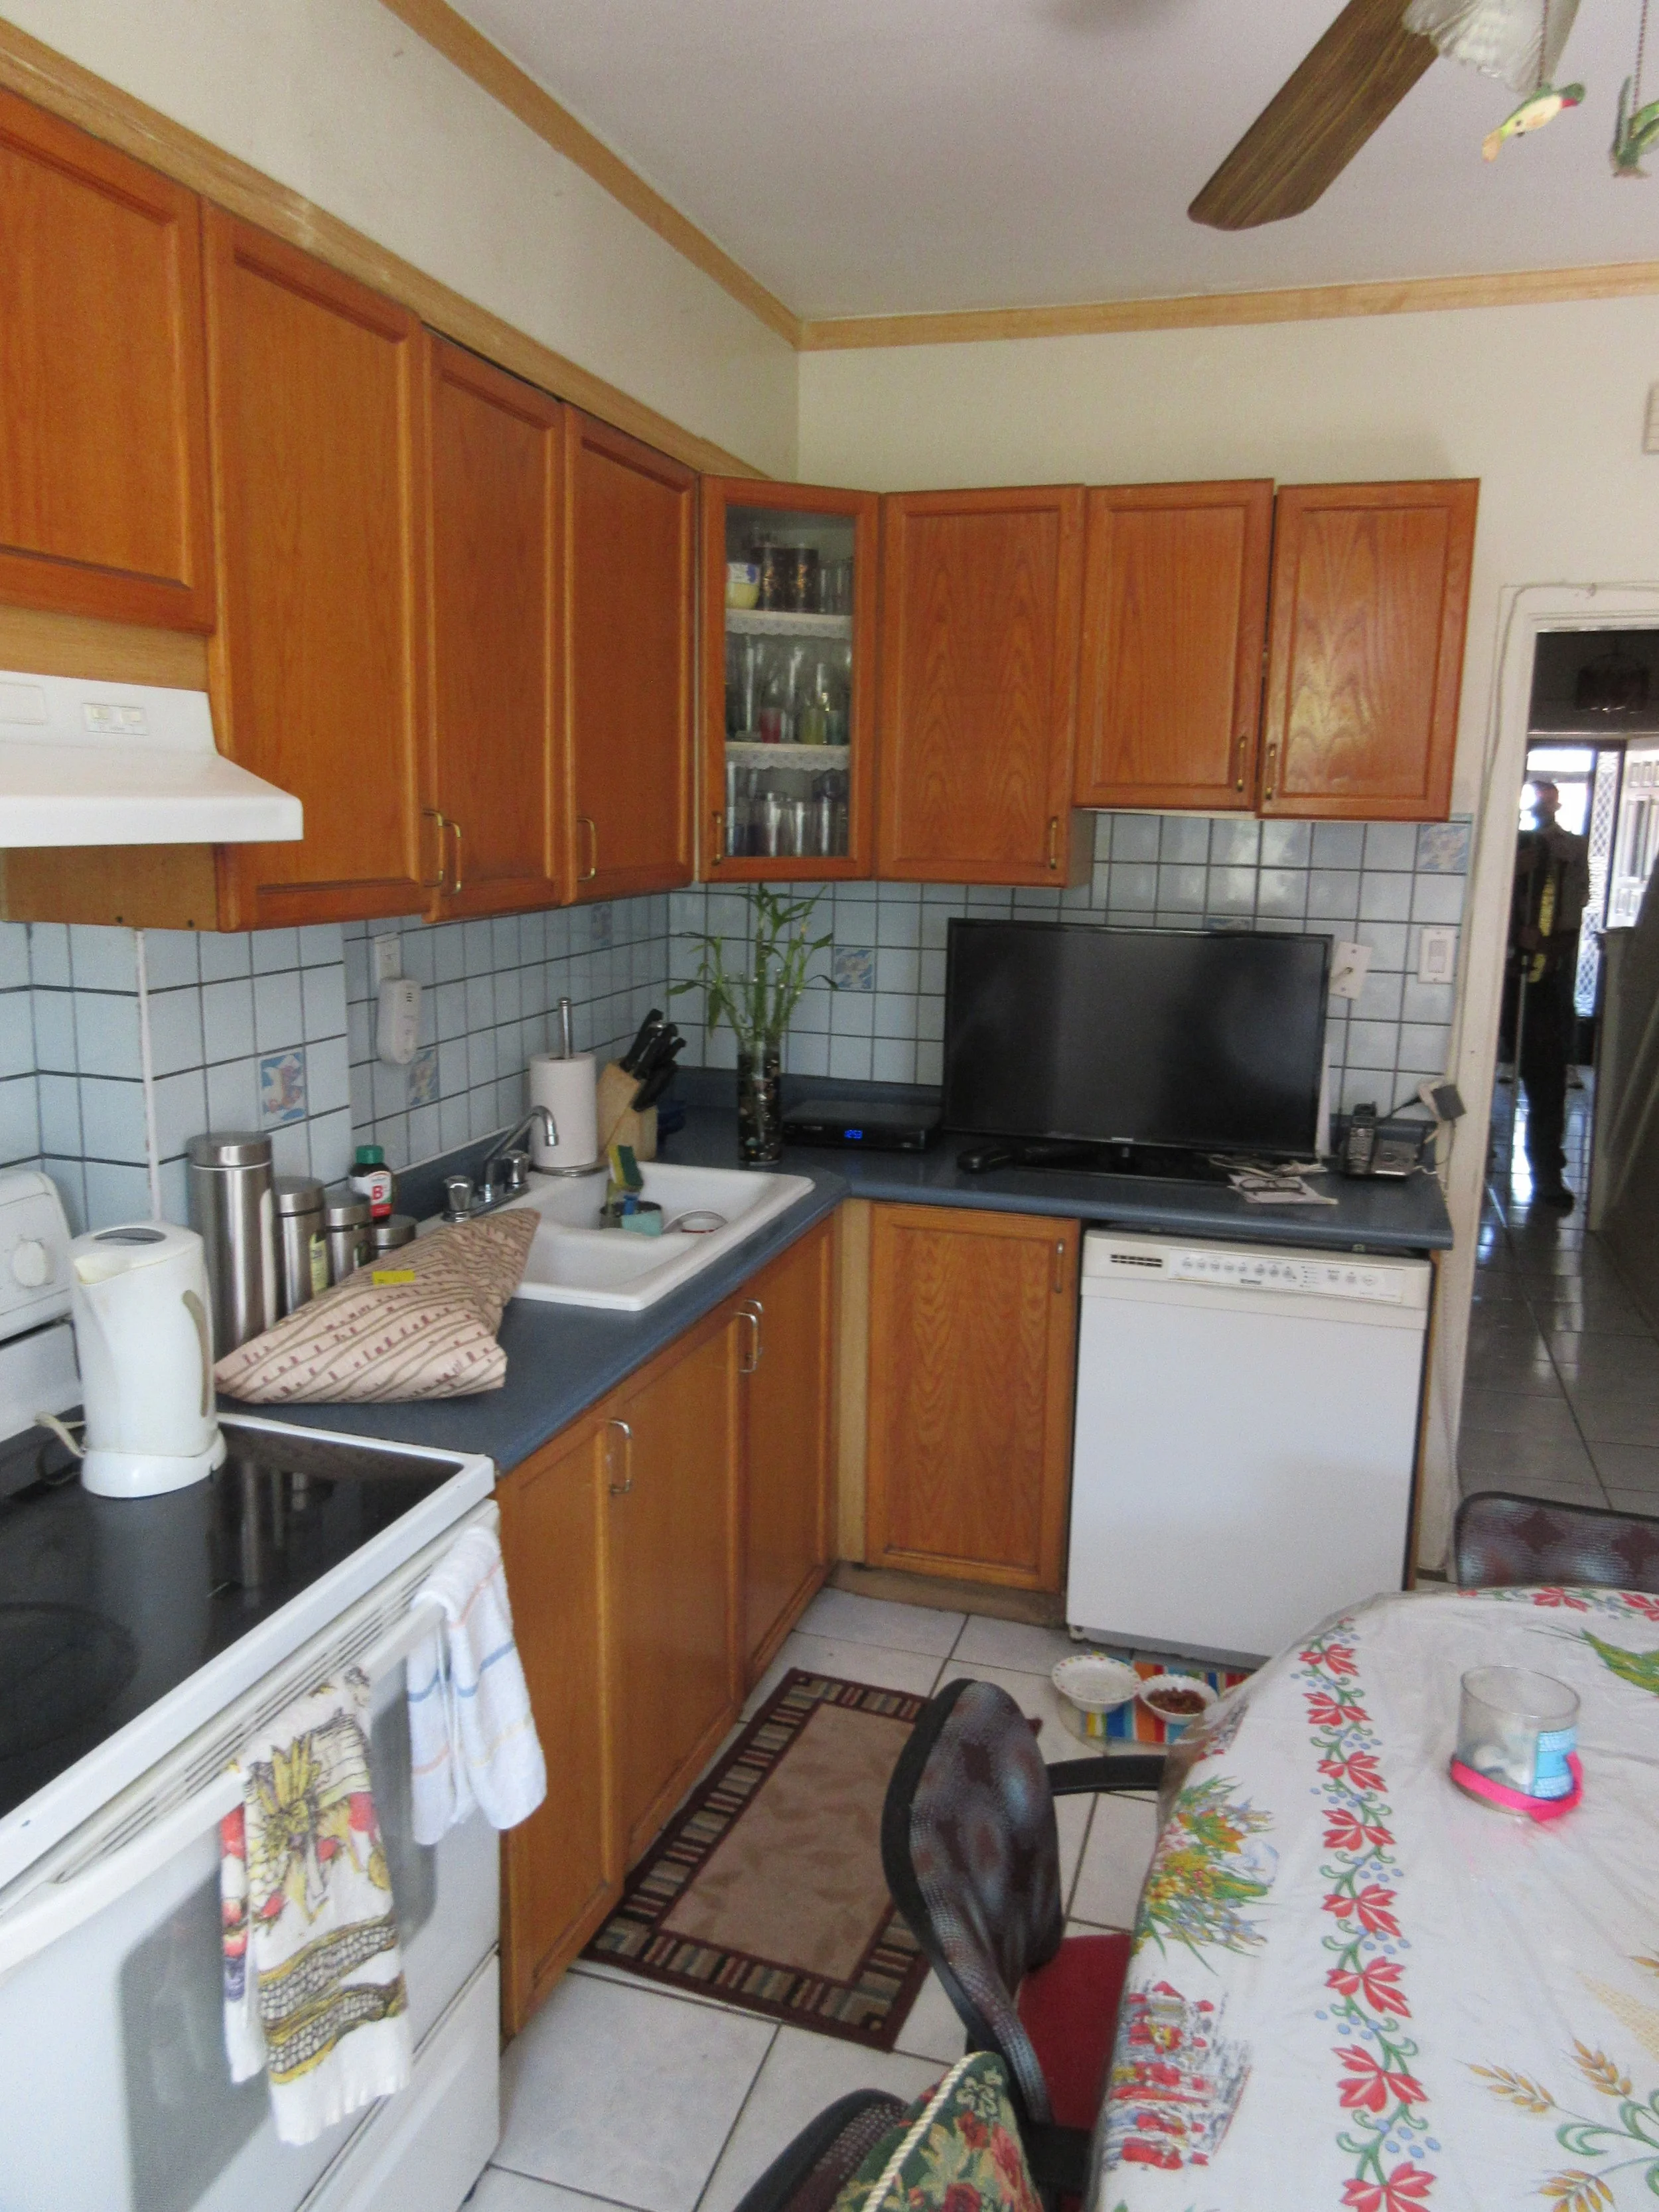
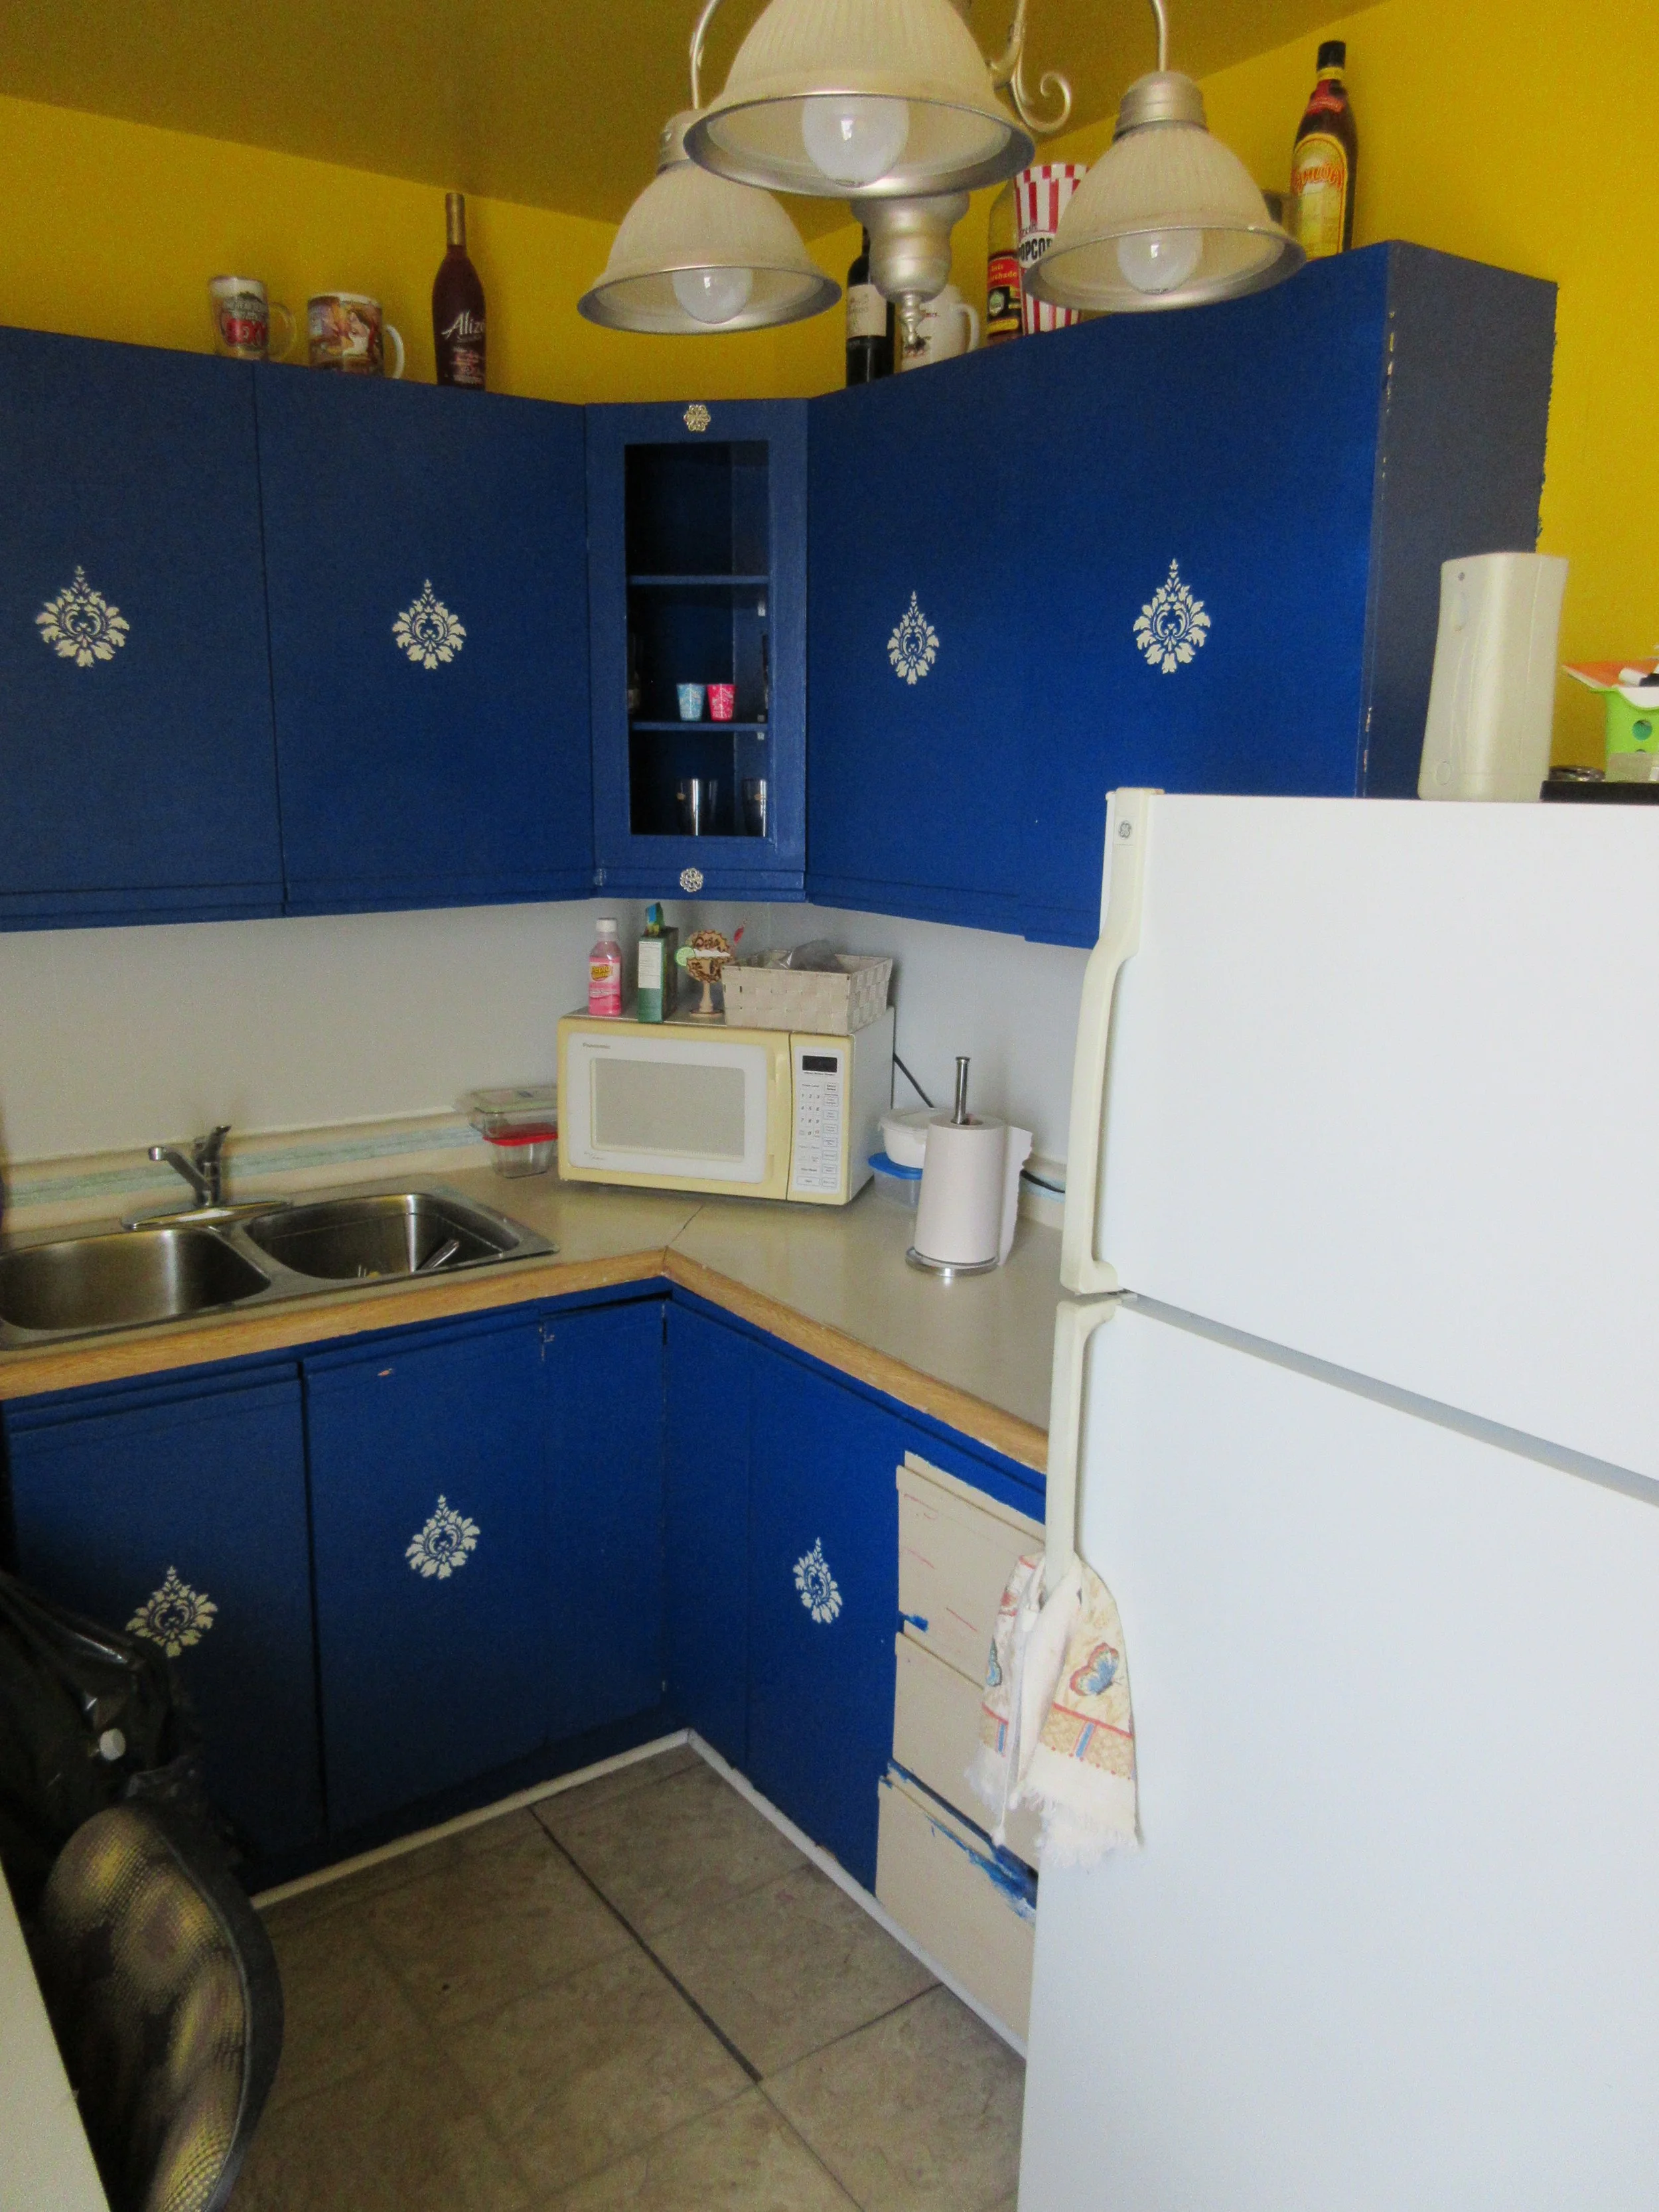
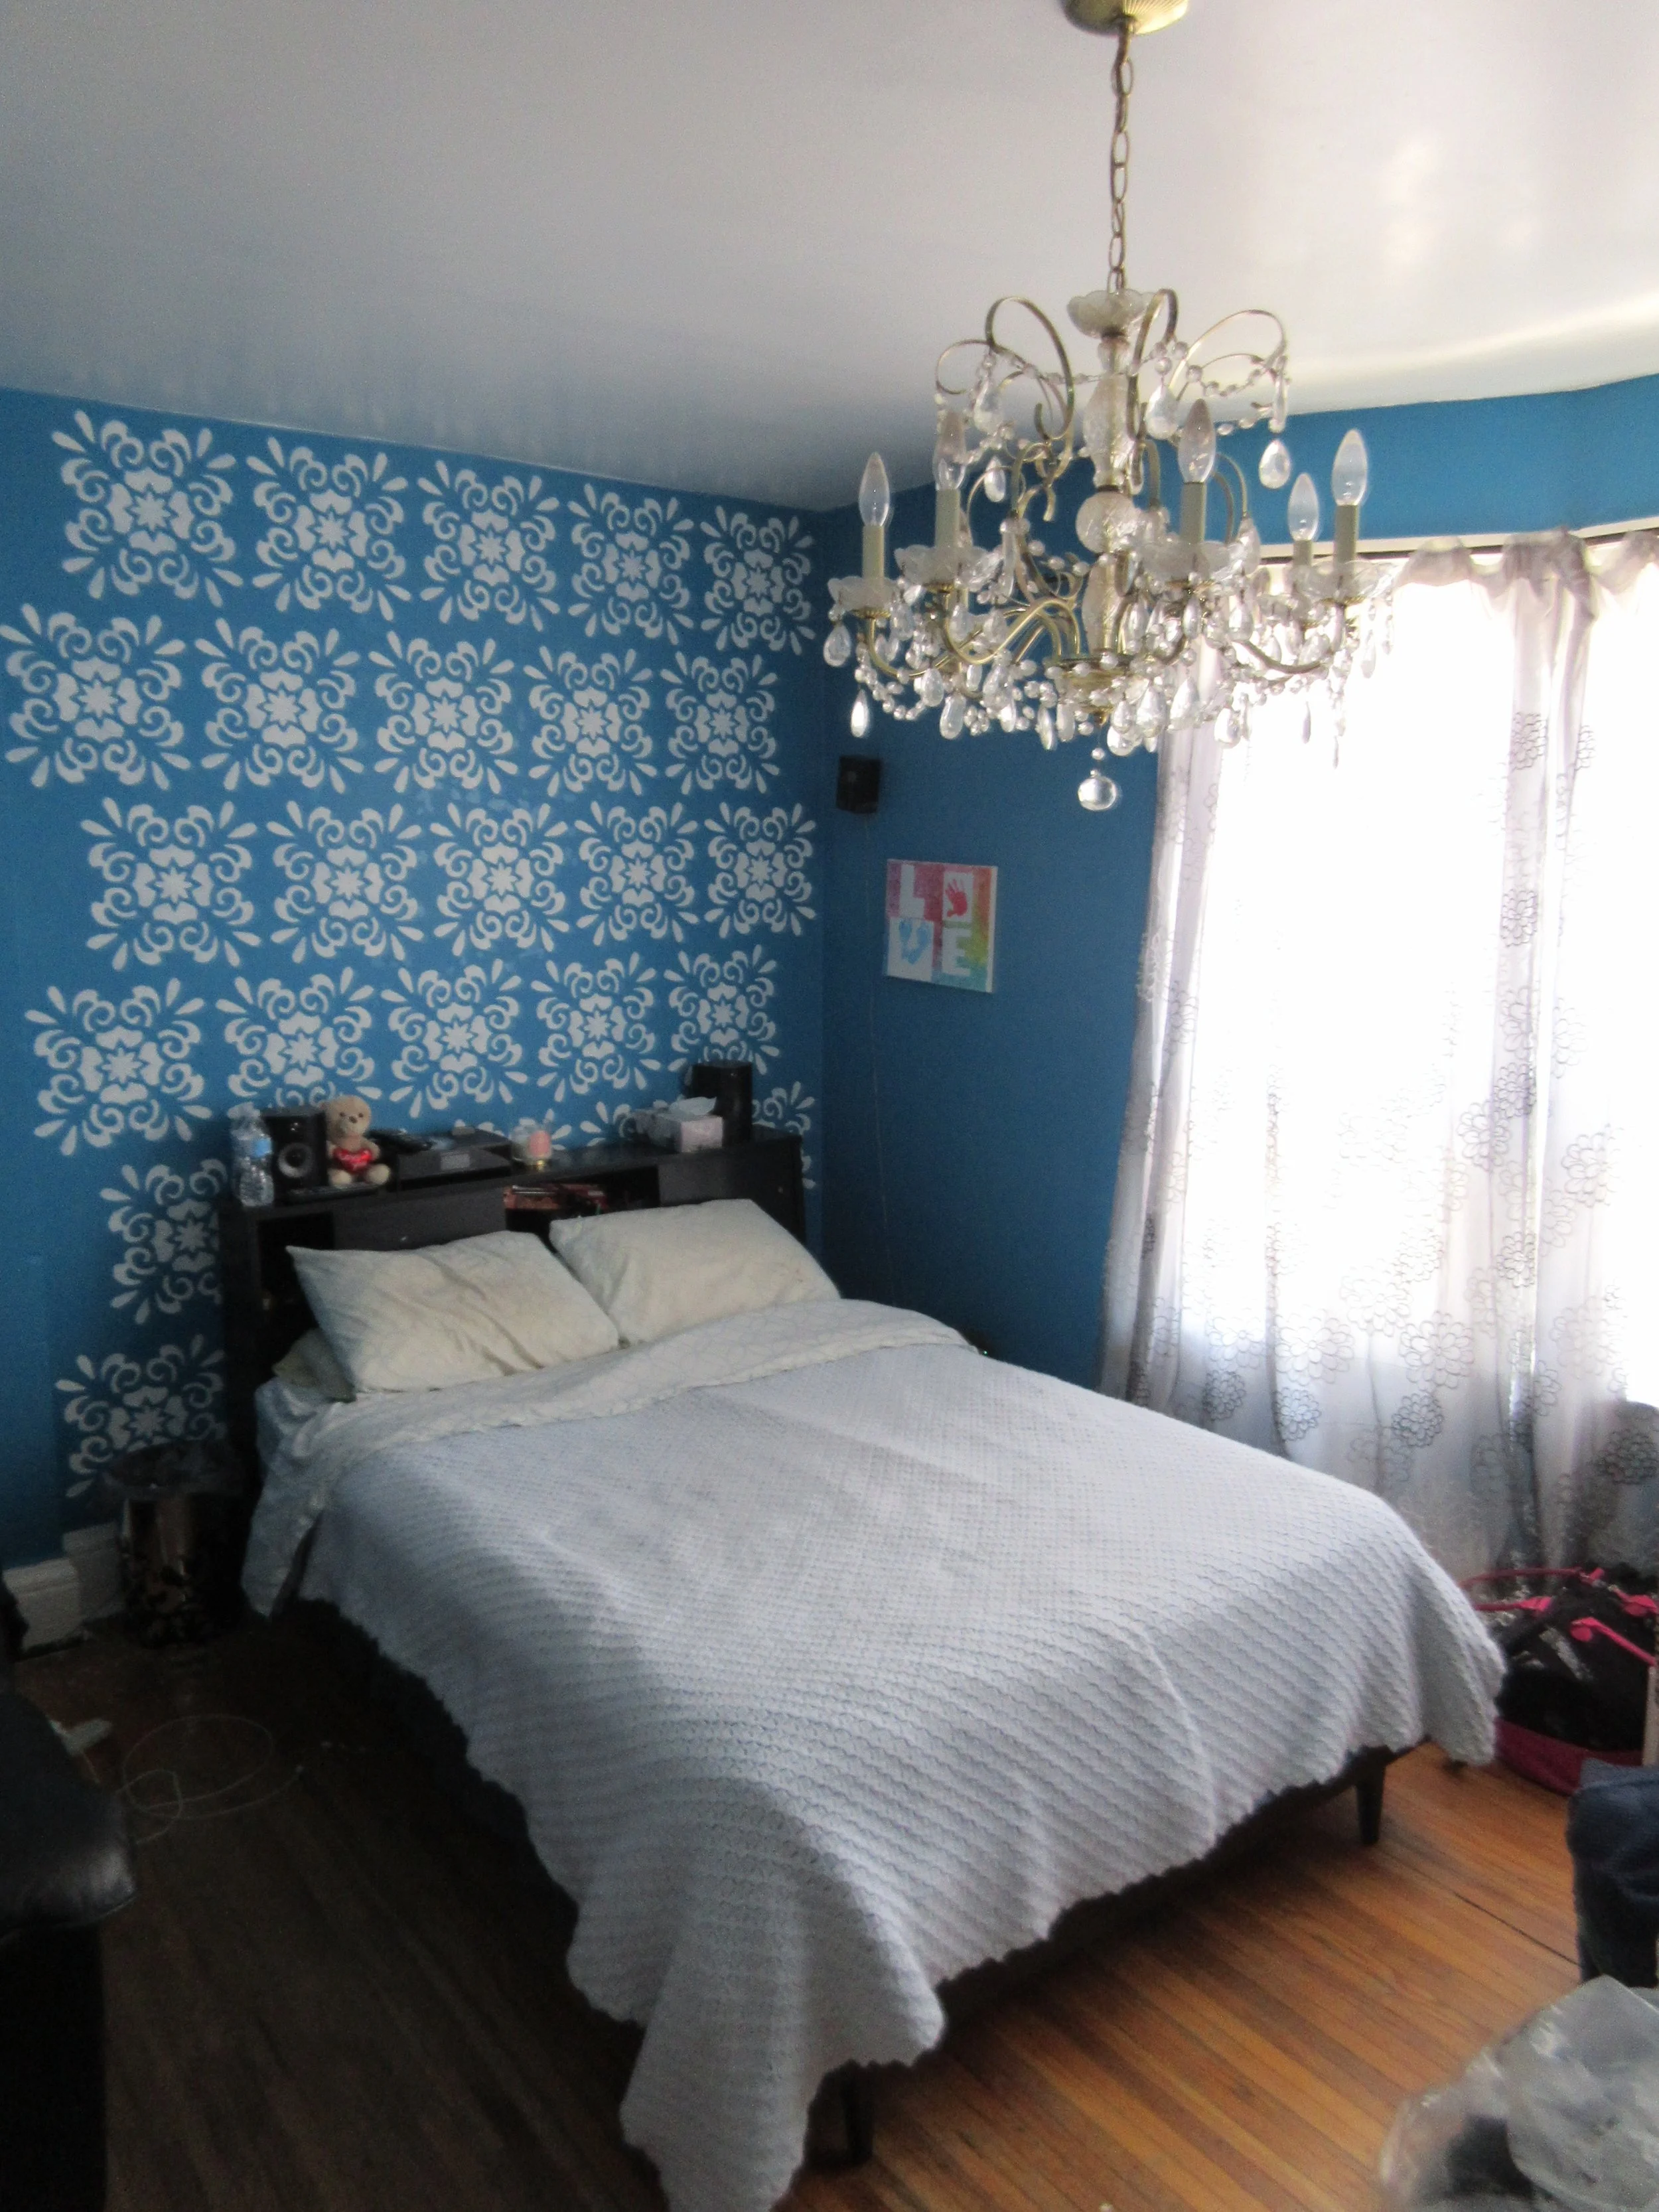
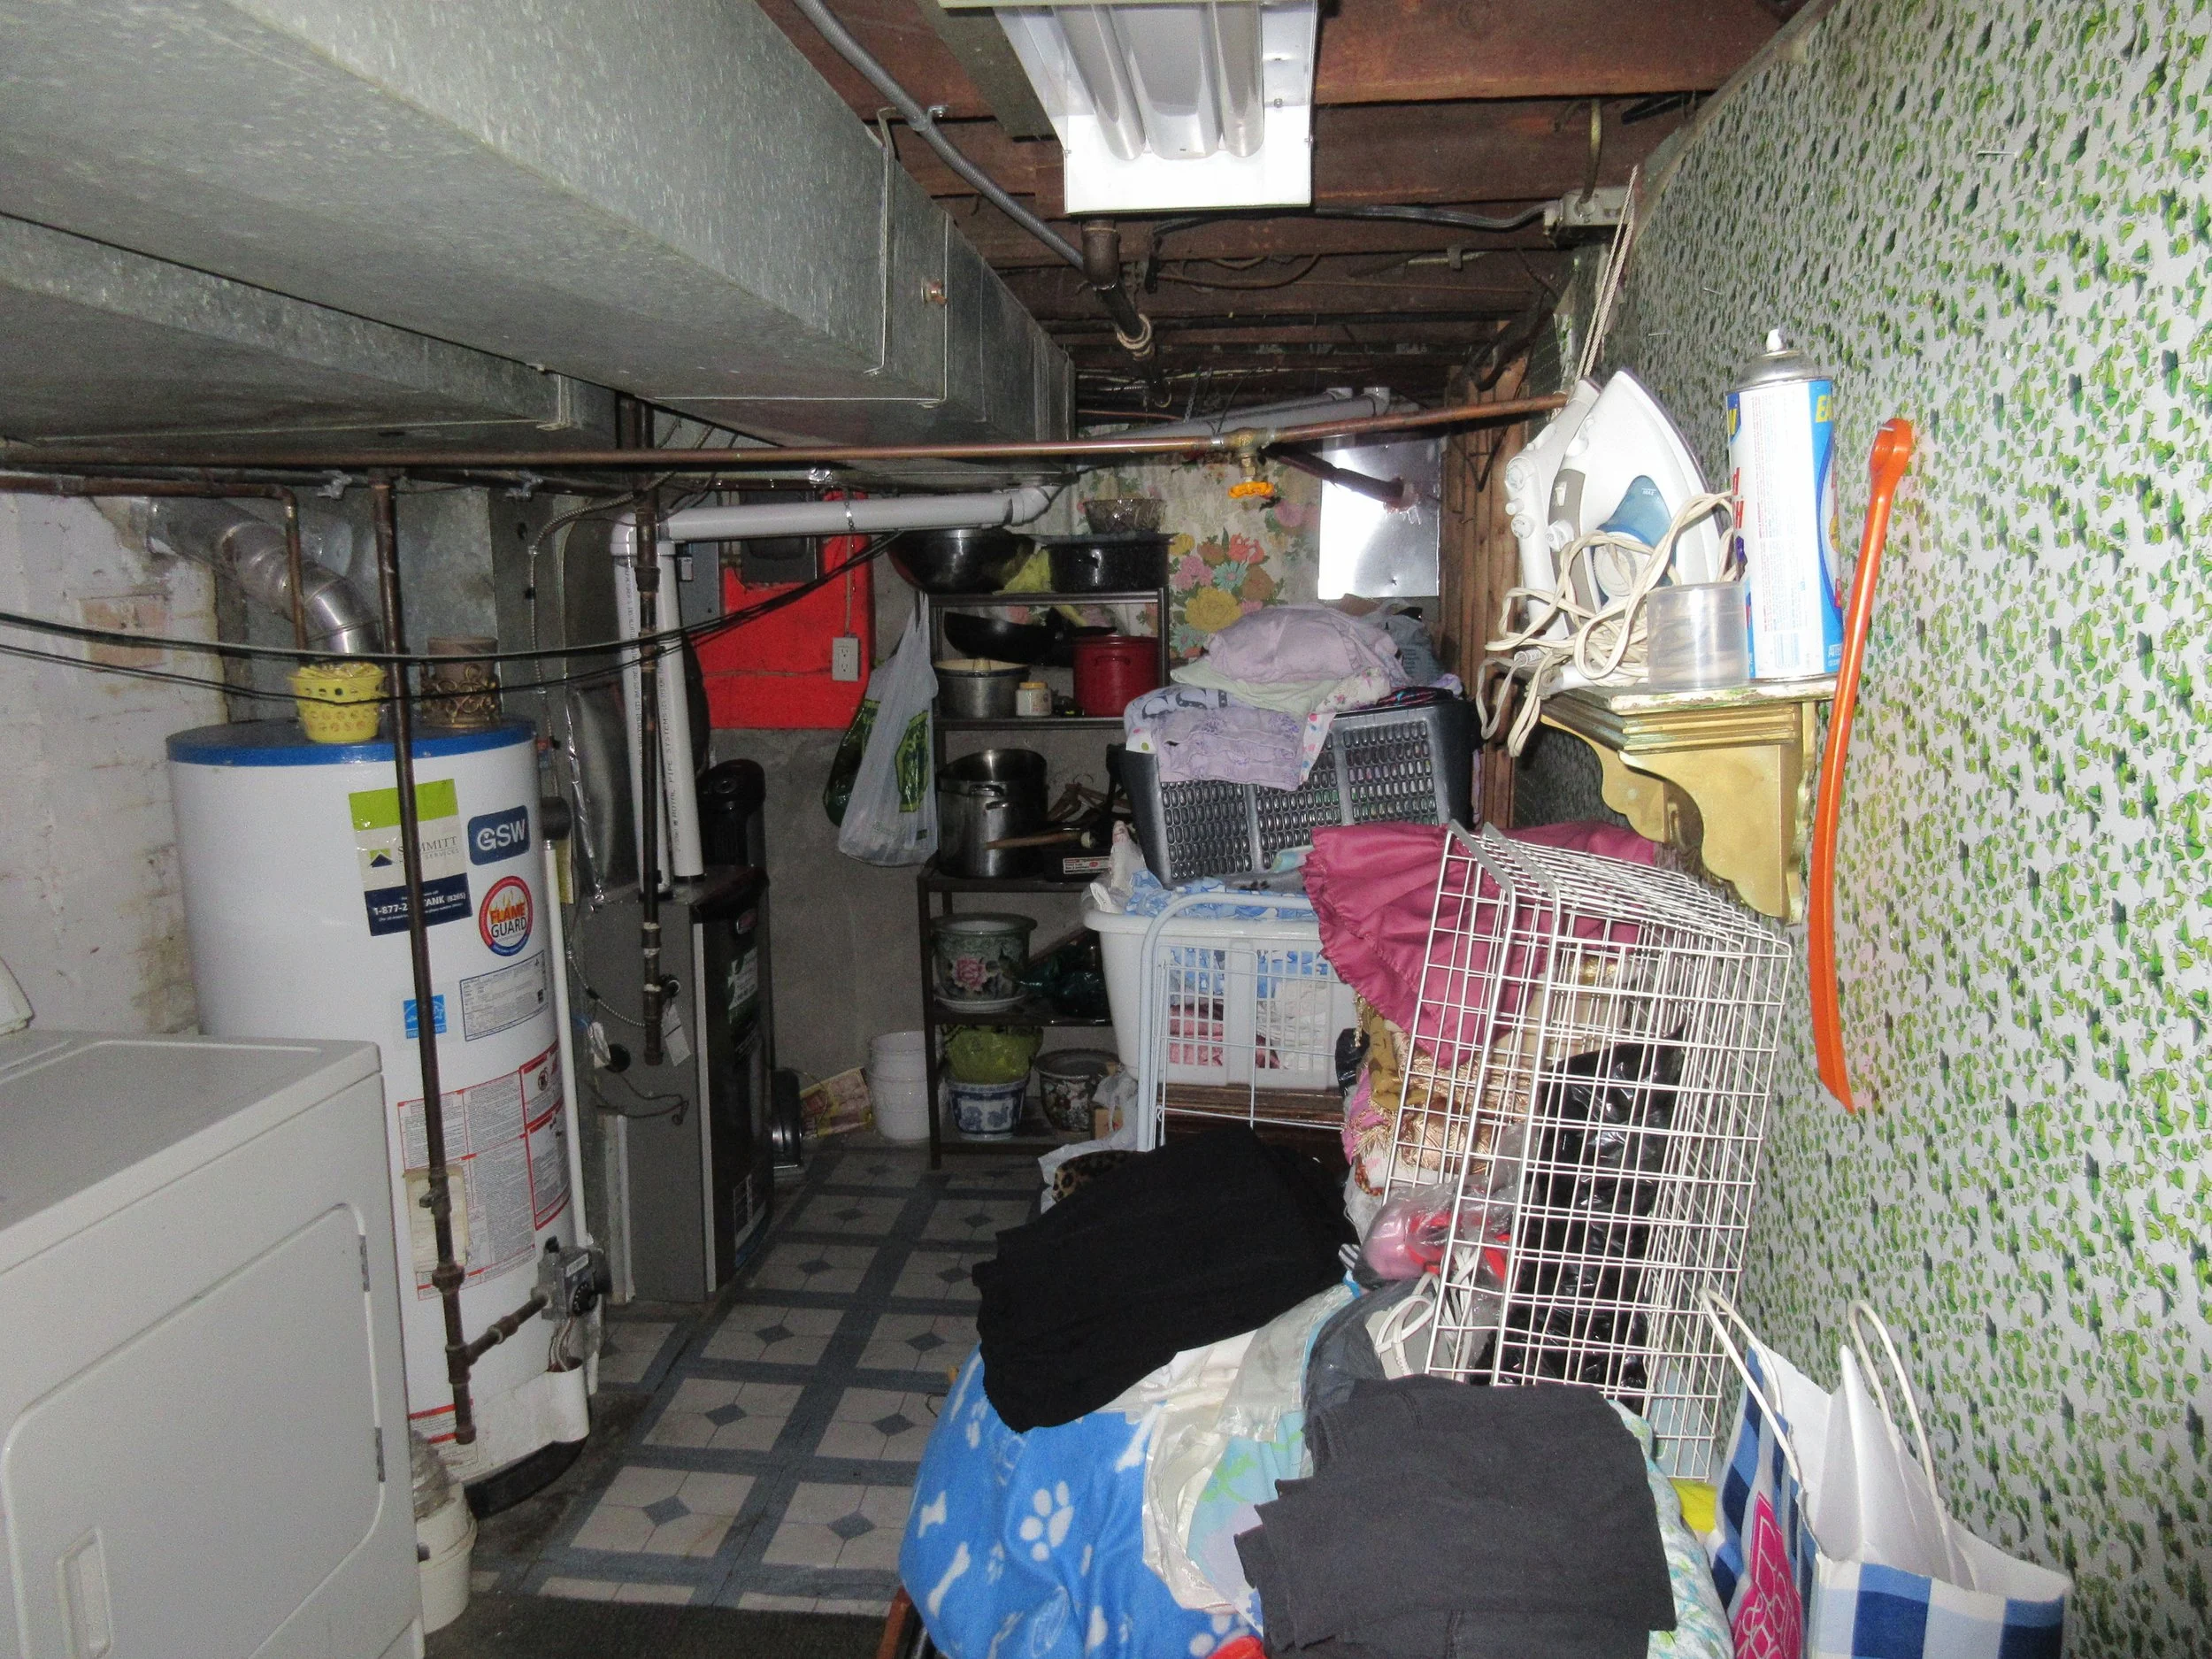
Within walking distance from Tom and Christine’s home and office, this new overhaul is a full gut renovation of a row house at Dundas and Lansdowne. Standing at 3 storeys tall, with laneway access, the house – although a little rough around the edges – has some serious potential.
As evident in the location of all their personal projects, the pair love the neighbourhood. Tom, on one of his routine jogs through the area, had noticed a few buildings go up for sale. It was clear that some pretty exciting — and trendy — changes were underway. The area is home to some great new restaurants, chic cafes, tattoo parlours, and its own brewery, aptly named Lansdowne Brewery. Also staples to the neighbourhood is a huge No Frills, the artist run Xpace Cultural Centre, and direct access to the College and Dundas streetcar lines and the Landsdowne bus route.
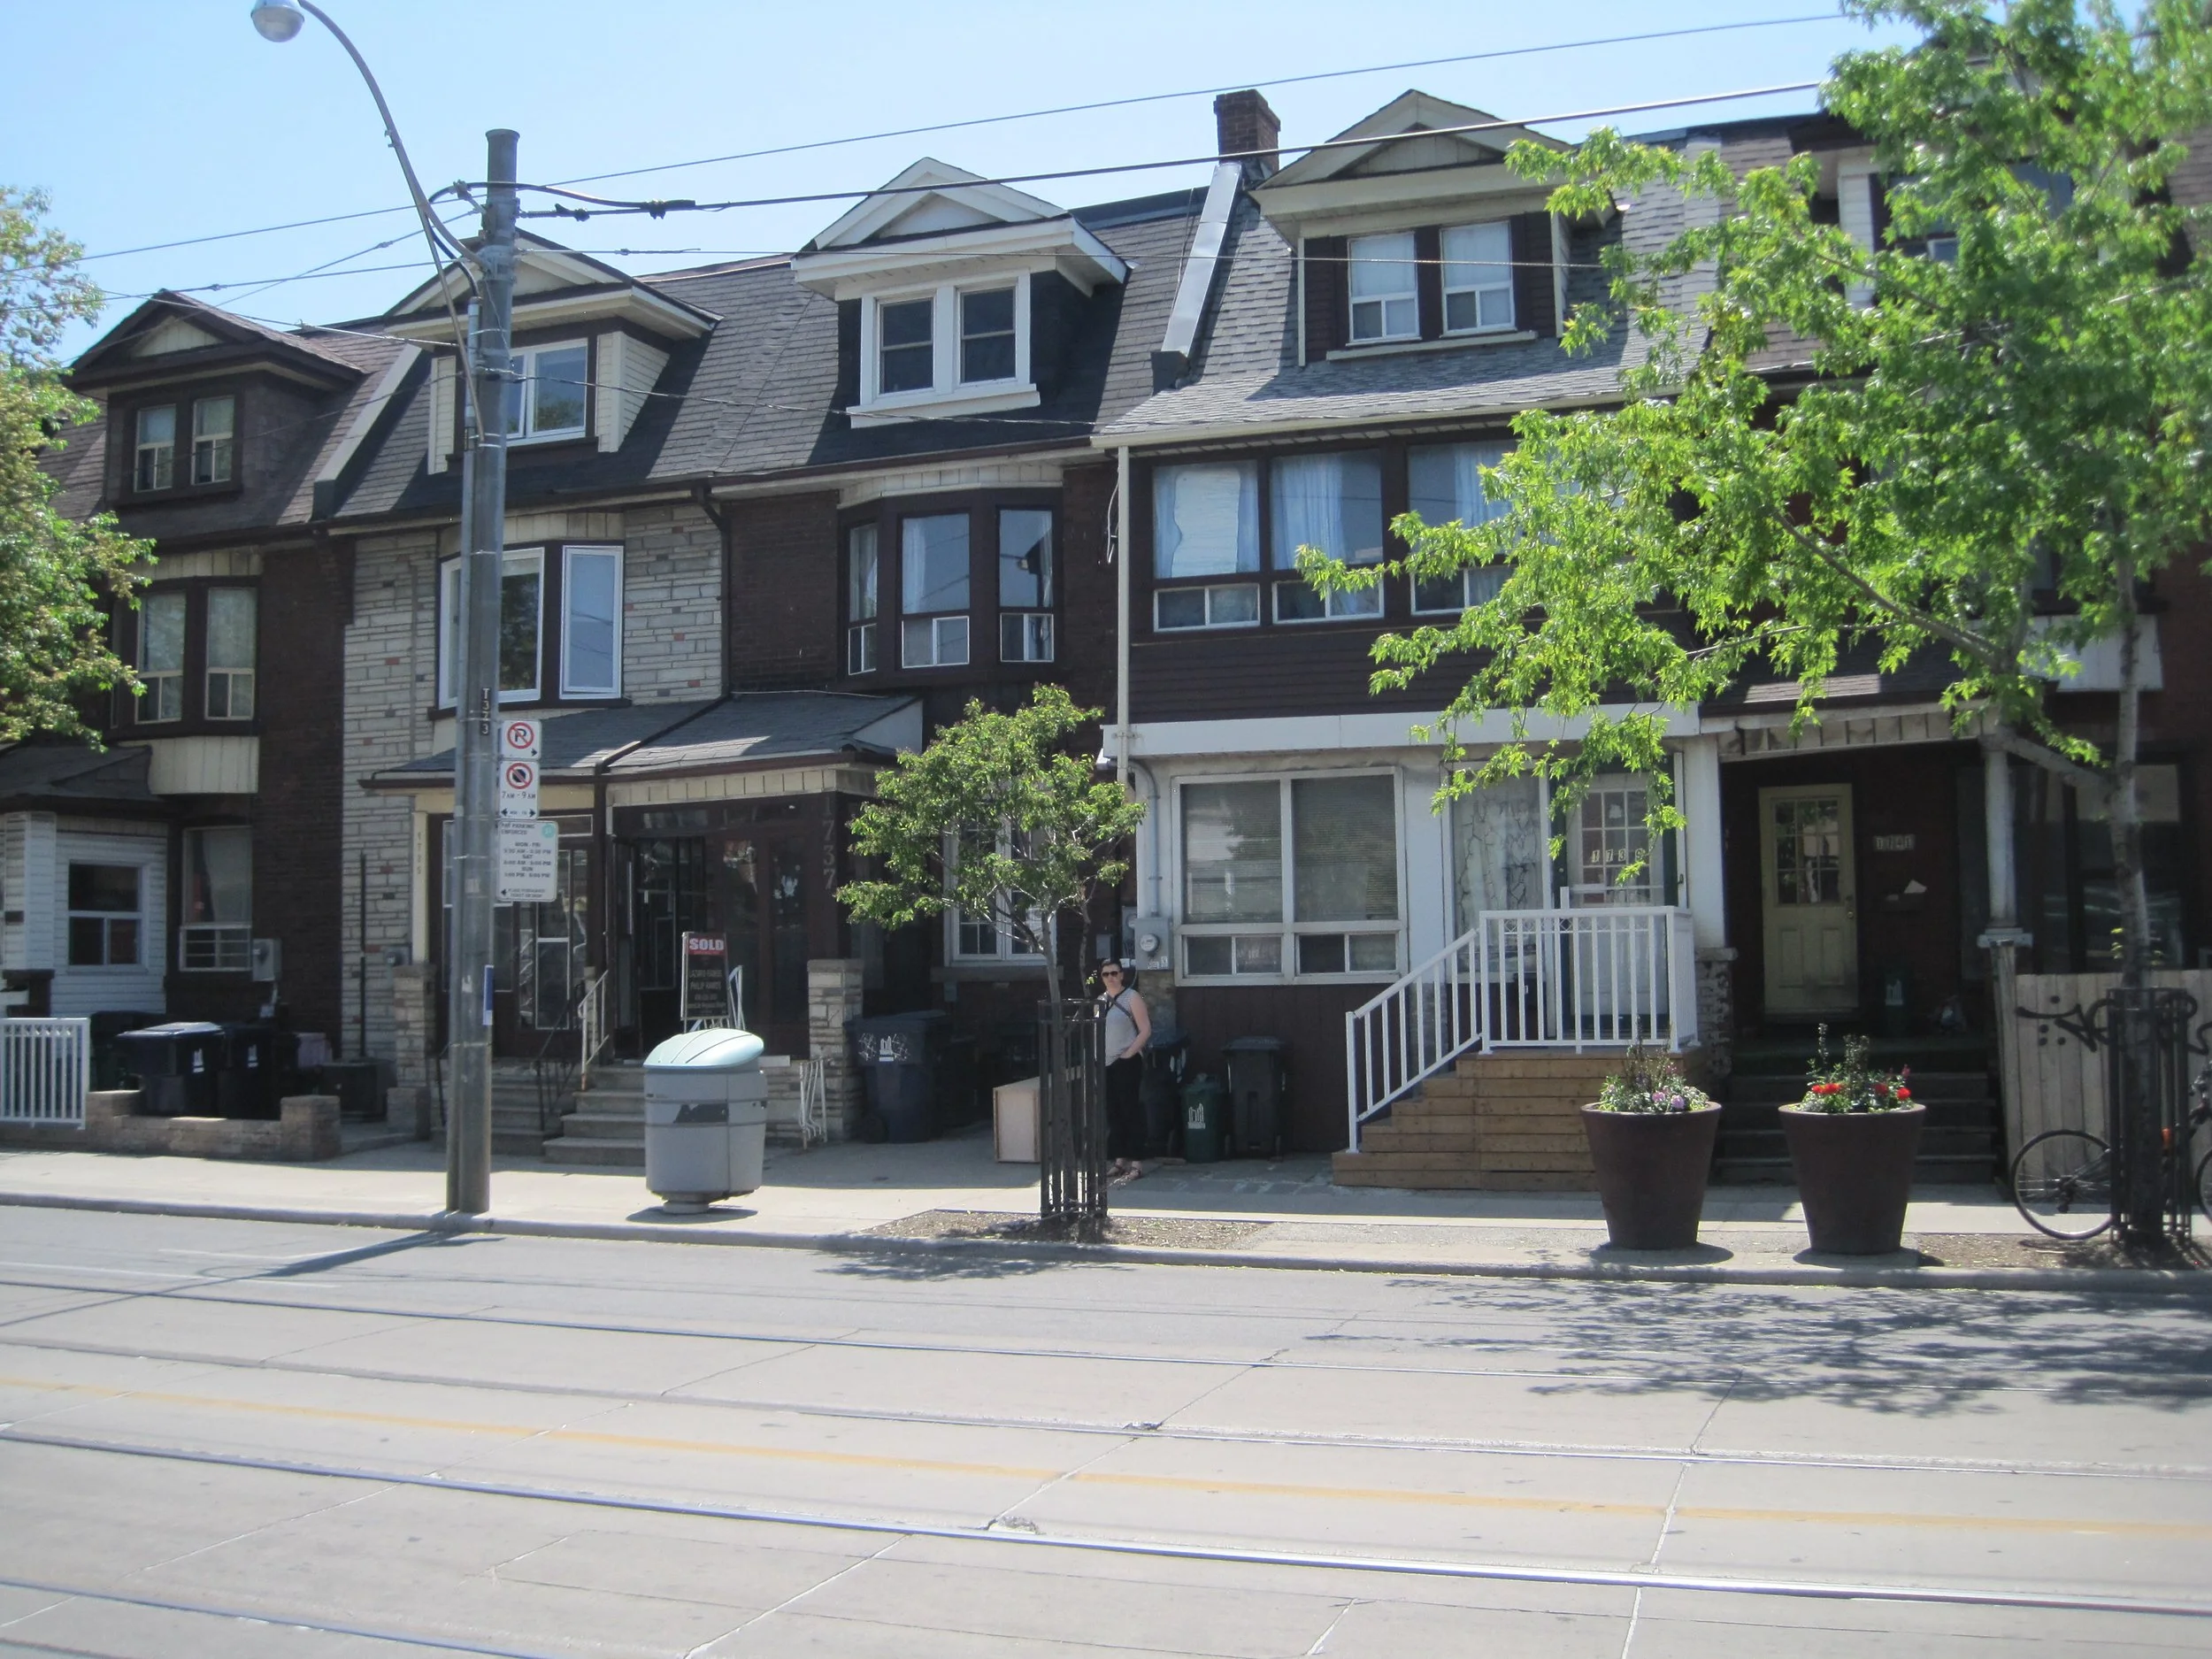


The building is an unconventional one. It has no parking, and since parking on Dundas is only legal at certain times of day, even street parking can be a challenge. Plus, the building takes up almost all of the property, and is attached on both sides. However, the location of the home more than makes up for it, with a playground and parkette a few doors down, and 24-hour access to streetcar and bus routes.
Using the building’s eccentricities as inspiration to think outside the box, we decided that turning this building into a small apartment complex was the perfect way to upgrade the property. Each unit will be spacious and livable, with its own entrance, and all the amenities, like laundry and a dishwasher. Plus, the largest unit will have a large, south-facing rooftop terrace on the 3rd floor, making it an appealing choice for any downtown tenant.
What makes this project even more exciting is that it is going to be a fully electric-operated, passive house triplex with no natural gas connection whatsoever (completely removed). Location and floor plan aside, this complex will be ultra-insulated and airtight, and decked out with energy-efficient systems. The home will be equipped with a grey-water recovery system, a heat pump water tank, and an efficient ERV for ventilation, with condensing dryers in each of the three units.
We’re excited to share this experience with you as we turn this building into an awesome, energy-efficient rental. Next post, we’ll discuss the apartment’s floor plans and design!
About the Building

-
The Stacked Units of Brockton Village 1
lIt might go without saying, but designing multi-unit housing is quite different from designing a single-family home. Design factors that are normally no-brainers are suddenly a lot more difficult to decide. Where are the entrances and exits? Are they communal or separate? What about outdoor space? Will each unit have their own laundry facilities? Lockers? Separate heating and cooling units?
Many of these questions have more than one “right” answer. In our opinion, each answer sets up a different type of complex, with a different atmosphere. So even before starting our design, we asked ourselves what kind of homes we want to create. What “vibe” did we want each apartment to have?
We wanted these apartments to be luxurious, comfortable, safe, and private; an oasis from the noise of city living. Neighbours can be great, but when living in such proximity it’s nice to have spaces that are fully private. We conveyed this in the development by making each apartment as insular as we could: this means a separate entrance for each of the three units, and in-suite laundry. Plus, each apartment will be able to control their own heating and cooling systems, which makes each unit even more independent.
Another strategy we used to keep the homes as private and quiet as possible was to plan each apartment’s layout with respect to the other units in the building. We made sure that “high traffic” rooms like entranceways, kitchens, and living rooms were kept away from the downstairs neighbours’ bedrooms. Hearing stomping feet in a kitchen or living room directly above you isn’t the most relaxing way to fall asleep.
The basement and main floor units have nearly the exact same layouts, stacked on top of each other. This not only made things like laying pipes and electrical systems easier, but it also kept noisier rooms on top of each other, and ditto for quieter rooms. In the upper unit, the great room takes up the highest floor, and the upper unit’s 2nd floor bedrooms act as a sound buffer between the upper and main floor units.
Let’s get to the details of our floor plans. The house is three storeys plus basement. That gave us four full storeys to work with. The upper unit is a large, three-bedroom apartment over the upper two storeys, with a rooftop patio on the third floor. A one-bedroom unit takes up the main floor, and another one-bedroom takes up the basement.
Family-friendly apartments in Toronto are increasingly hard to come by. New developments typically stick to bachelor, one-bedroom, and two-bedroom apartments. Once you start looking for an apartment with 3 or more bedrooms, the pickings get a lot slimmer. We wanted our complex to include a unit big enough for a family to use and enjoy, which is why we decided to convert the top two floors into a three-bedroom unit.
-
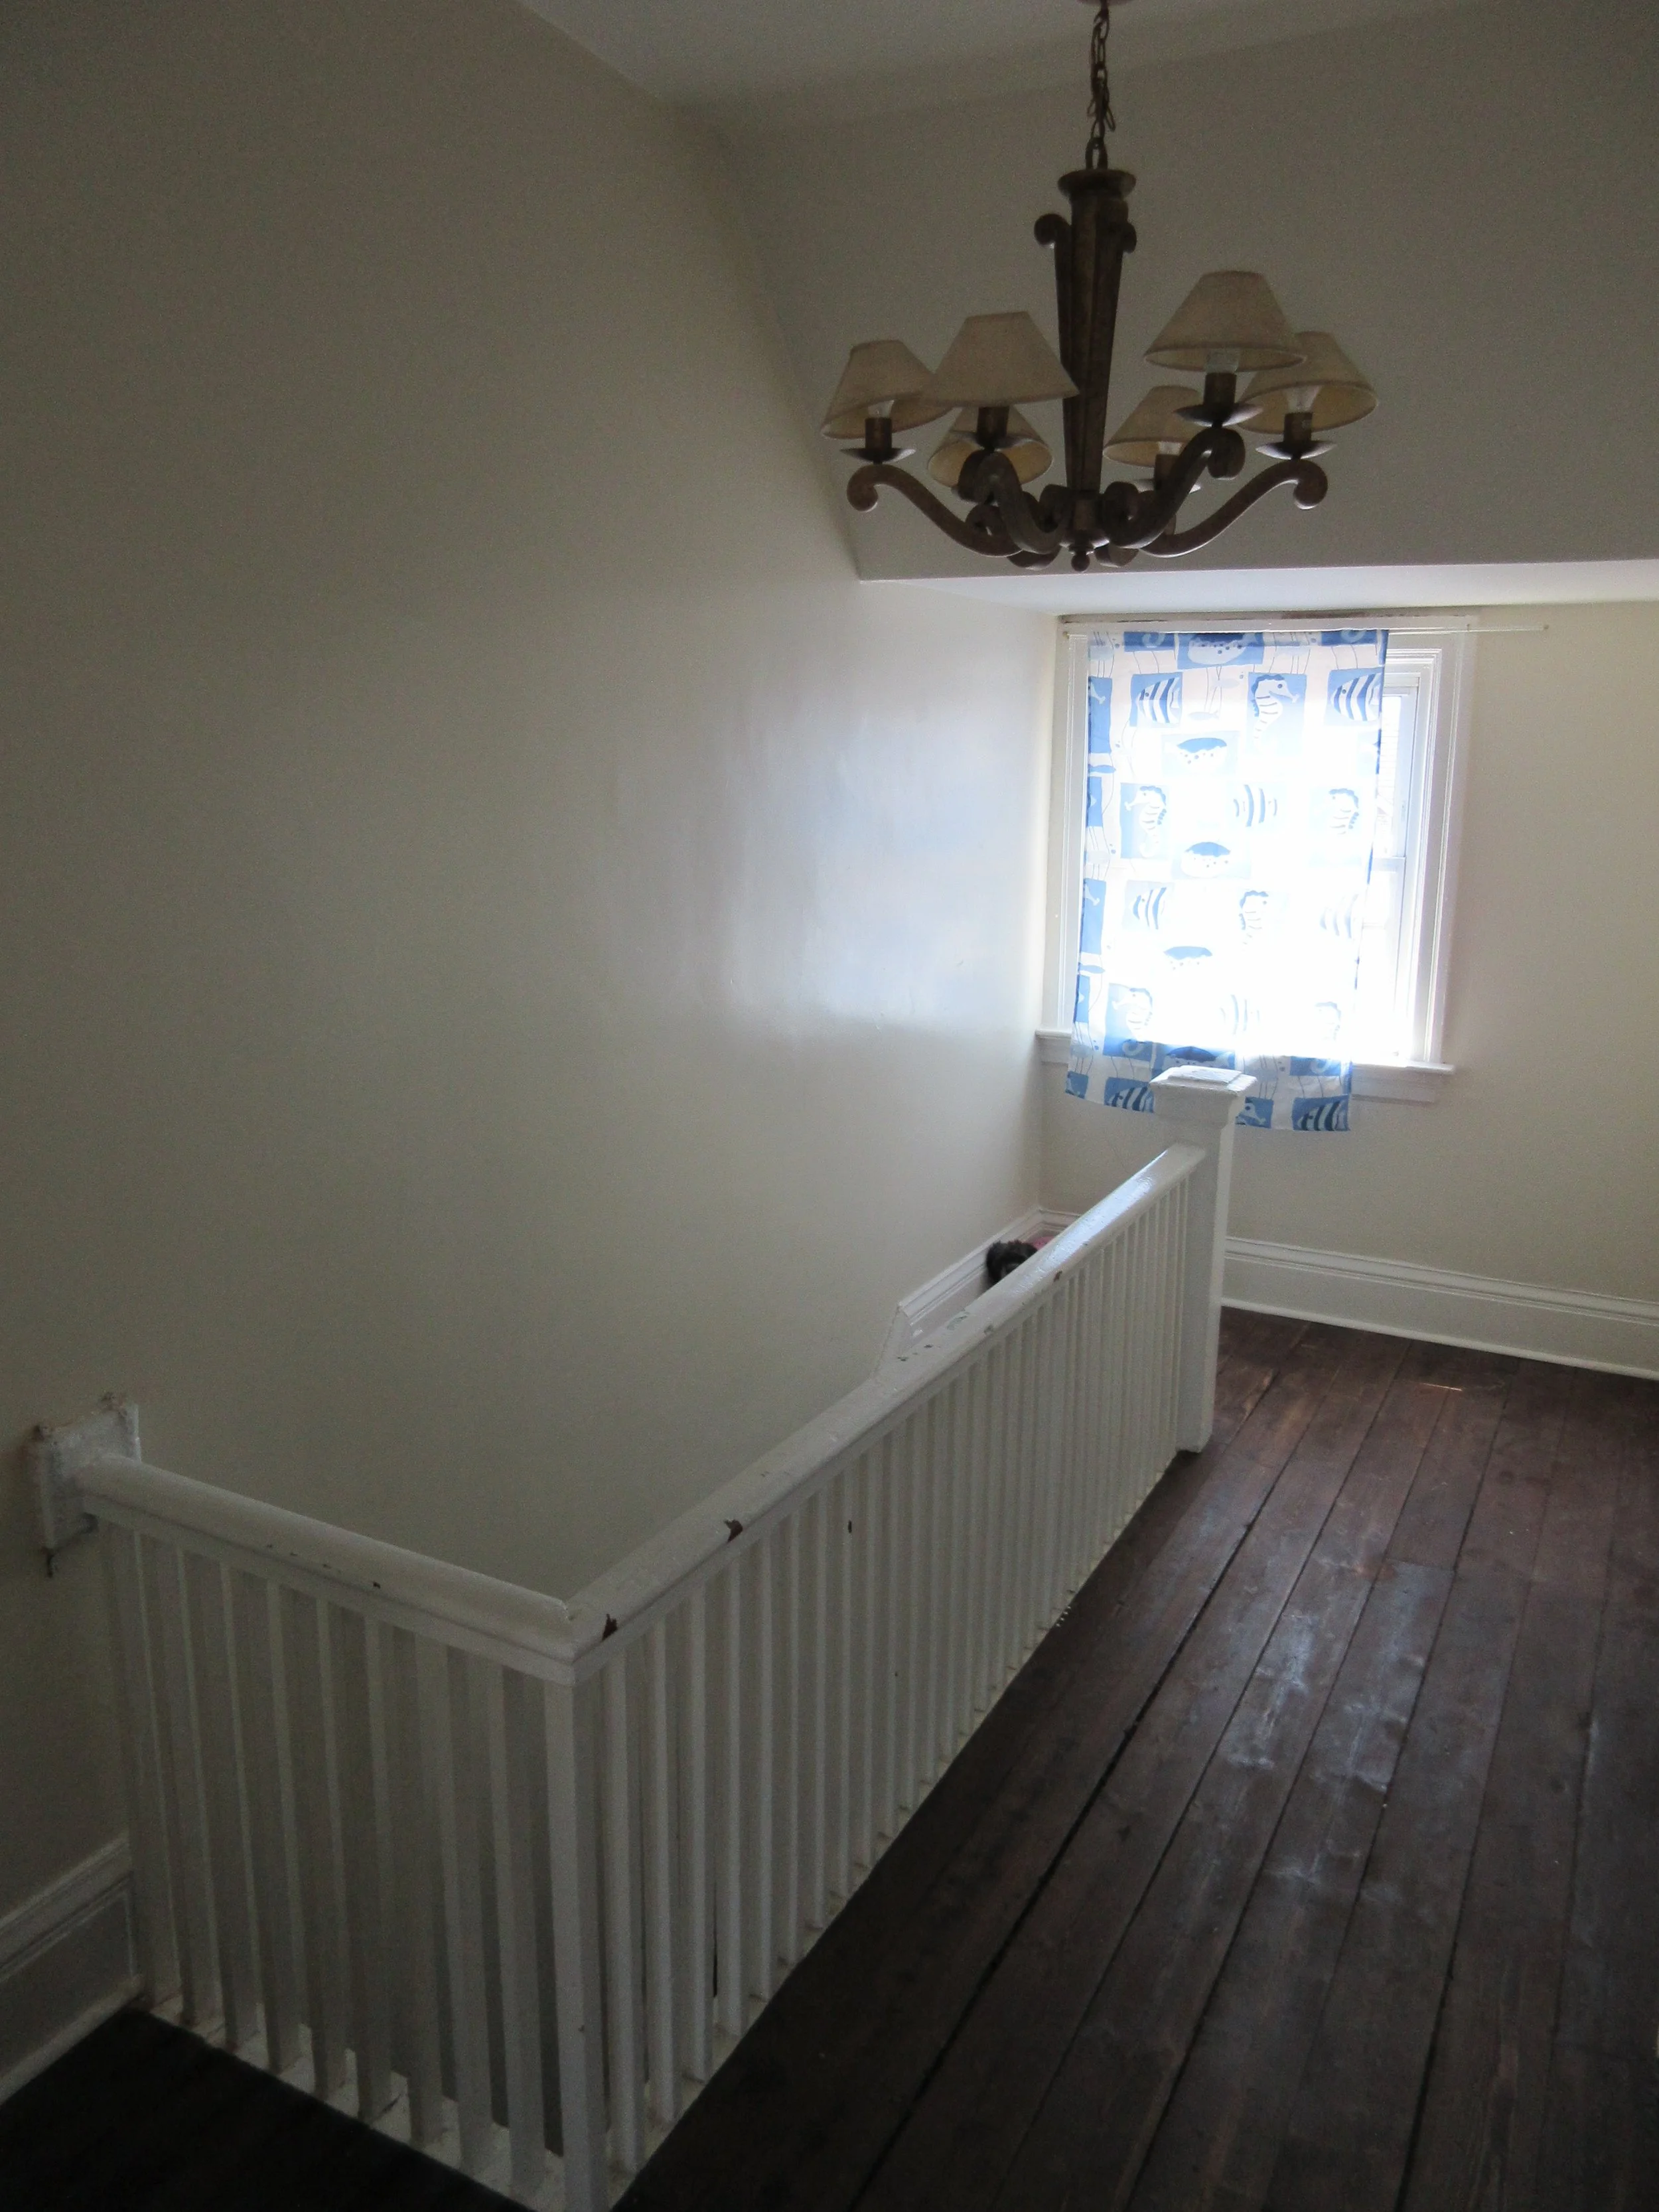
The third floor is home to the upper unit’s common spaces, and the private bedrooms and bathroom are on the floor below. We did this for numerous reasons: Firstly, we loved the loft-like atmosphere of the third floor, with its charming, slightly slanted walls and high views over the street and city. We thought it would make a wonderful, open-concept Great Room with lots of personality. Secondly, locating the Great Room on the third floor gives the unit tons of privacy – no worrying about the downstairs neighbours when it comes to jumping kids or adult dinner parties. And thirdly, the roof deck, placed on top of a section of the second floor, allows for a nice bit of urban outdoor space – perfect for a small herb garden or bistro table.
The Great Room’s kitchen lines the west wall of the large open space, with lots of counter and storage space. The living area is located at the front half of the storey, with windows overlooking the street.
On the second floor, the apartment’s three bedrooms and one bathroom lead off a hallway. The master bedroom is tucked into the front of the house, overlooking the street. A bathroom partitions the master bedroom from the other two bedrooms, one in the centre of the apartment, along the west wall, and the other tucked in the back of the house. A large closet leads off the central hallway, under the stairs to the third floor — perfect for laundry, or a wizard child’s bedroom!
This upper unit is the only home that enters from the front of the house. Rather than stacking the stair, the stair is designed to lead straight along one wall of the building, all the way from the front entranceway on the first floor up to the third floor.
We did this because a straight stair usually saves some floor space in a long, narrow building like this. Plus, since the Great Room is on the third floor, we wanted it to be as easy as possible to carry things like heavy groceries up to the third floor, and a straight stair is much easier than wrestling around the corners of a stacked staircase. And finally, the straight stair gives a clear view of the third floor’s back patio, which is a dramatic and fun way to hint at what’s to come on the third floor while walking up the stairs.
-
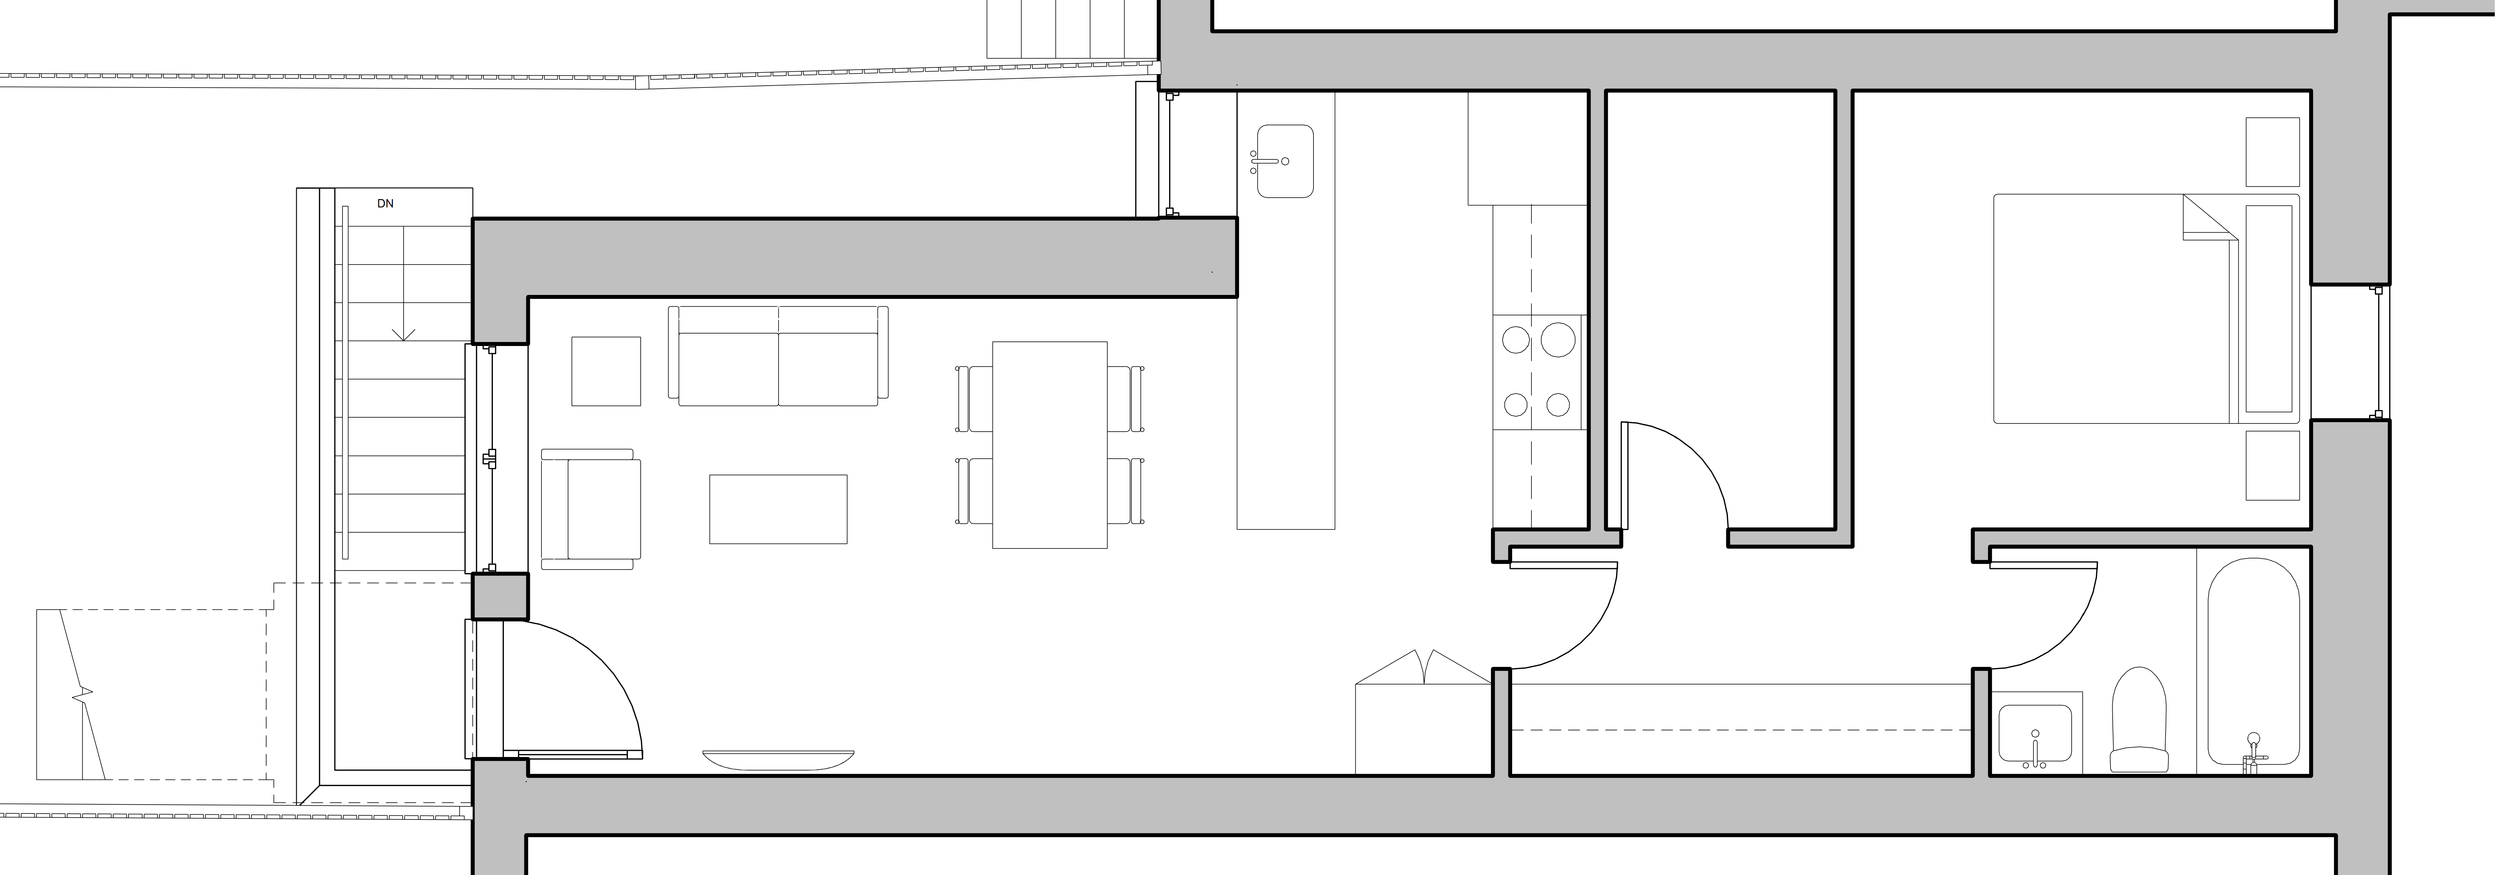
The one-bedroom unit on the first floor enters off the back of the house, up a few stairs located in the back yard, off the rear laneway. The building is nearly on the corner of Lansdowne and Dundas, so the back entrance is super accessible from a laneway off Lansdowne, just a few houses in.
The entrance opens into a large Great Room in the back of the house, with large windows facing south. The kitchen is in the far northwest corner of the Great Room, slightly partitioned off from the rest of the room by a large kitchen bar. This kitchen bar adds tons of functionality to the compact kitchen, with lots of counter space and under-the-counter storage. A large closet with laundry facilities (sneakily located under the upper unit’s stairs) and a bathroom lead off the small hallway between the Great Room and the large bedroom. The bedroom, tucked into the front of the house, overlooks the street, and the triple-glazed windows bring in lots of light while keeping ambient street-noise out.
-
Lower Level Unit
On the lowest level is an equally sized one-bedroom unit, that enters from its own staircase also at the back of the house. This unit’s layout is nearly the same as the first floor unit, except for one small difference. A small mechanical room is in the space where the bathroom is in the first floor unit. The lower unit’s bathroom is instead tucked into the northeast corner under the upper apartment’s front entry Lining this hallway opposite the bathroom is a huge amount of closet space. Though this unit is technically a basement apartment, we’ve made it airy, light, and livable by giving the unit full-sized windows and excavated its own outdoor entrance.
There you have it — the floor plans of Brockton Village 1. Next time, we’ll be talking about all the underpinning, extending, and intense woodworking that this building needs to become an all-electric, energy efficient apartment complex.


-
It’s time to talk concrete work and heavy framing of this three-unit, all-electric, urban haven. The house, as we’ve mentioned before, is a row house, attached on both sides, on Dundas St. West, with laneway access at the rear. After our permits and permissions were set, we got started on tearing everything out that needed to go!
Gutting a house like this one is difficult. The building’s unconventionalities made construction much more challenging than your typical, detached – or even semi-detached – home on a quiet residential street. Parking on that strip of Dundas is illegal at most times of the day, so there was nowhere to park a bin for all the disposed bits and pieces. Instead, during demolition, we had to drop a bin on the street in front of the house, quickly fill it, and drive it away almost immediately! Then repeat the process over, and over, and over… talk about a stressful drive.
As we normally do with old renovation jobs, we had the house tested by a team of environmental consultants, to check for any indoor air contaminants that would cause health or safety concerns. The environmental consultants found a small amount of asbestos, which is – unfortunately! – entirely normal in a building of this age. This toxic problem was dealt with by a professional remediation company. Then, we got hacking away at all the old, crumbling, interiors!
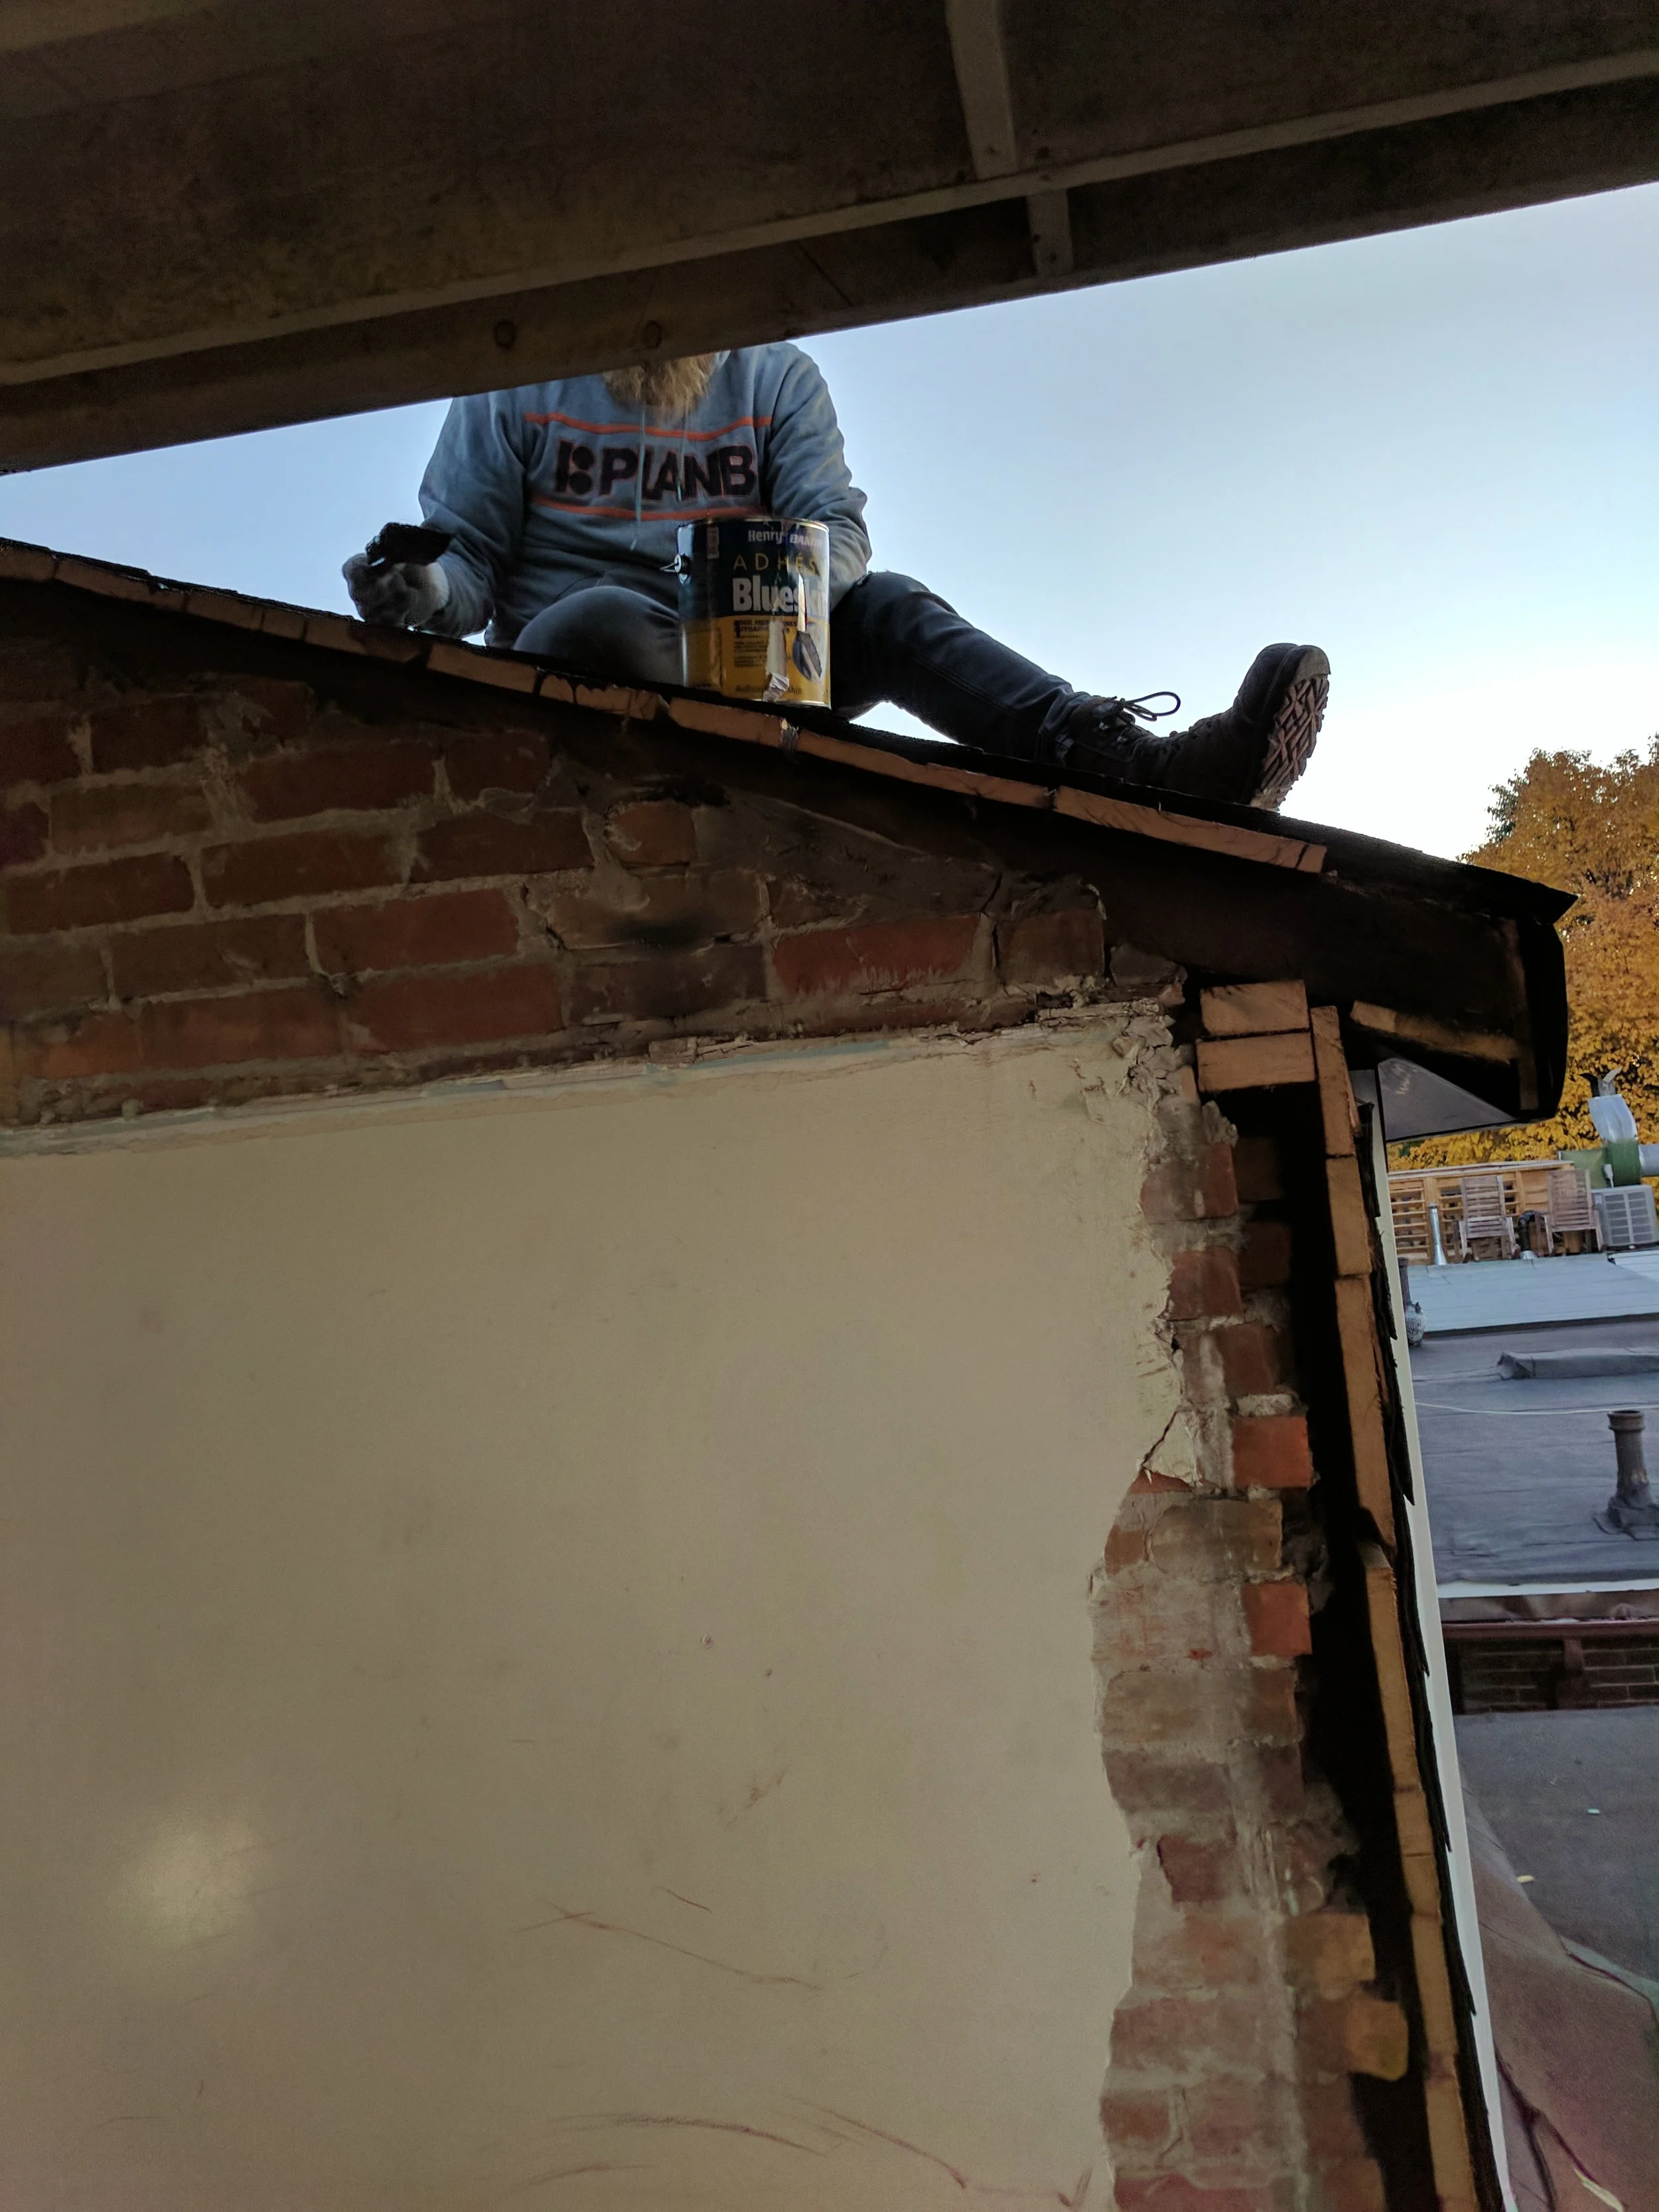
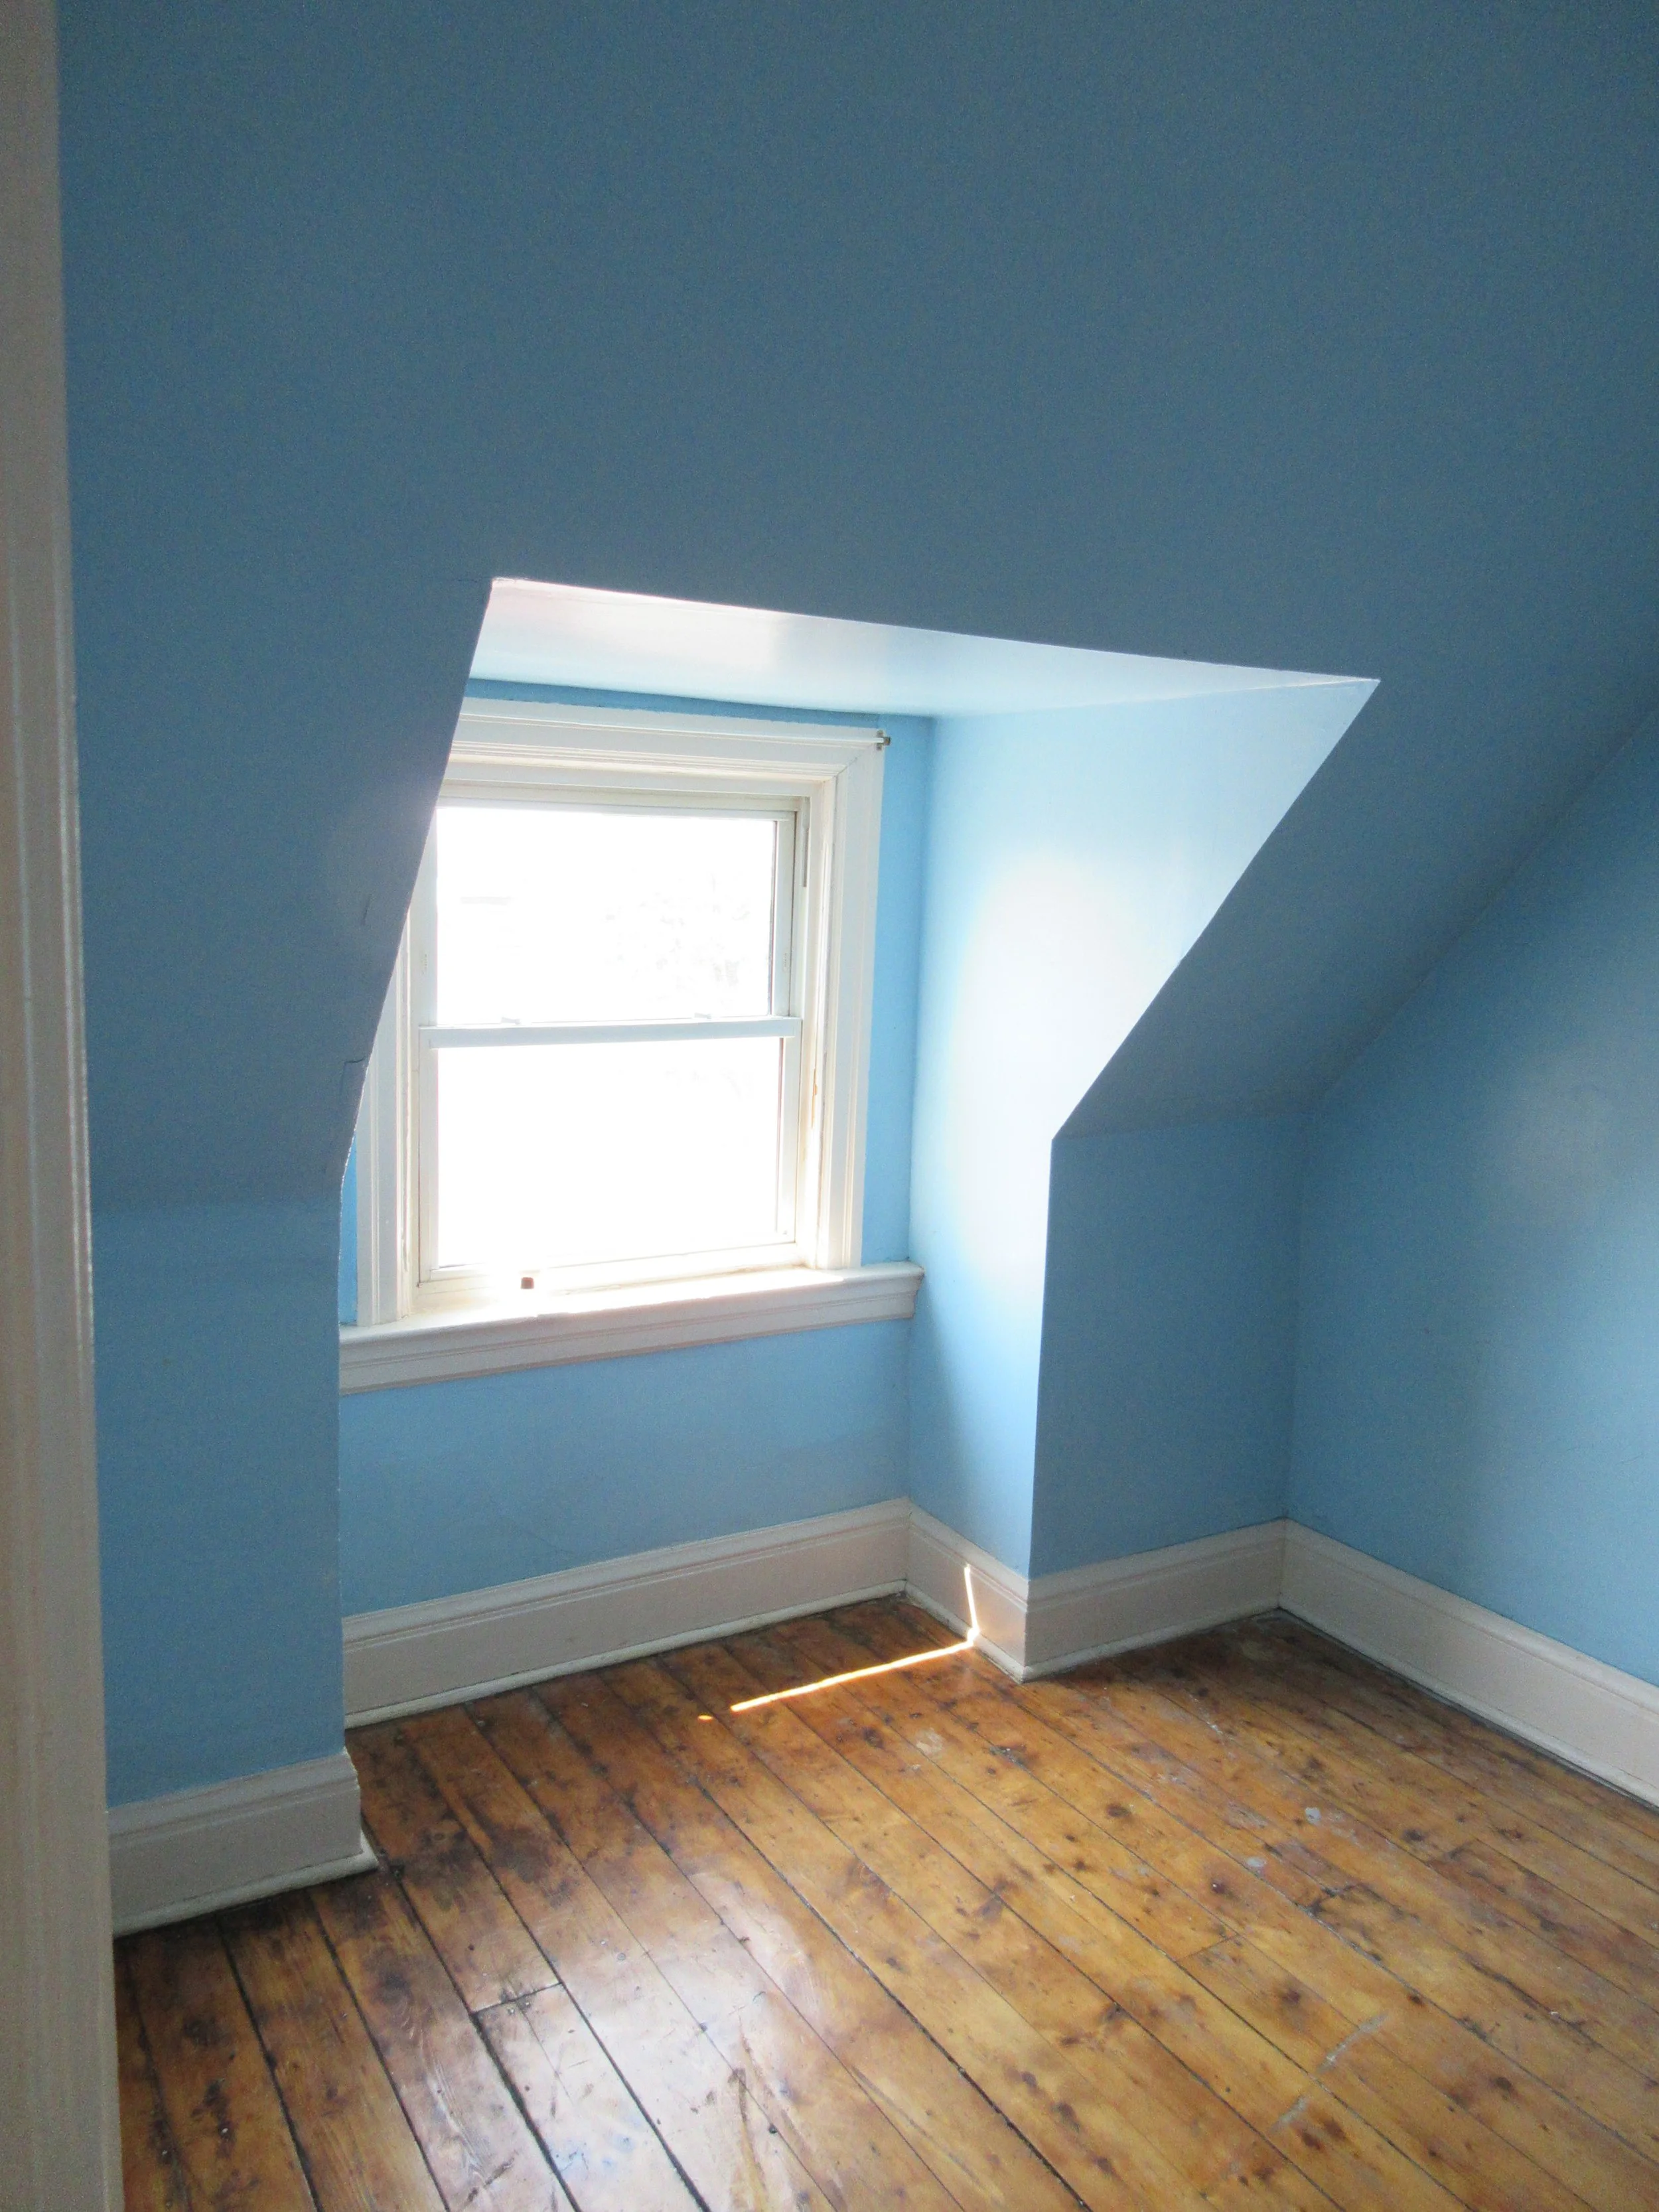
So much comes out of these old houses: plaster, framed walls, old bathroom and kitchen tiles, flooring, dated electrical systems, old ductwork & pipes… the list goes on. Truthfully, in this house, the interiors left much to be desired. It had very little we wanted to keep – no traditional molding or secret fancy hardwood hidden under carpets. Demolition removed nearly everything but the brick structure and front half of the roof! The back half of the roof was squared off, and extended by 5 ft to make room for the upper unit’s rooftop patio.
-
On the lowest two levels, the house’s rear wall had to be significantly altered to make room for the entrances of the two lower units.
We removed this portion of the wall entirely, which allowed us to excavate the basement out of this space a little bit easier. Then, we underpinned and reinforced the basement’s foundation walls and dug up enough space outside, behind the rear wall to lay stairs down to the basement’s front door and up to the first floor’s front door. “Oh, is that all?” you’re probably thinking!
But, as we’ve talked about before, removing a load-bearing wall isn’t the most simple task. If you remove a load bearing wall without reinforcing the structure, the house could collapse in on itself. Plus, we were simultaneously underpinning the basement, and the dirt floors could buckle, spill out and erode if the structure began to collapse inwards.
To avoid these worst-case scenarios, we installed some heavy duty steel Needle Beams as reinforcement in place of the rear wall, to keep the structure intact without a load-bearing wall. Though these beams seem impossibly thin, they can easily handle the immense pressure of holding a structure together sans-rear wall.
Excavating the rear property to make room for the two lower units’ stairs also gave us the opportunity to create full-sized windows in the basement unit. Outside of the window openings, we dug out deep window wells, which allow for full sized windows to collect tons of light, even when half-underground.
-
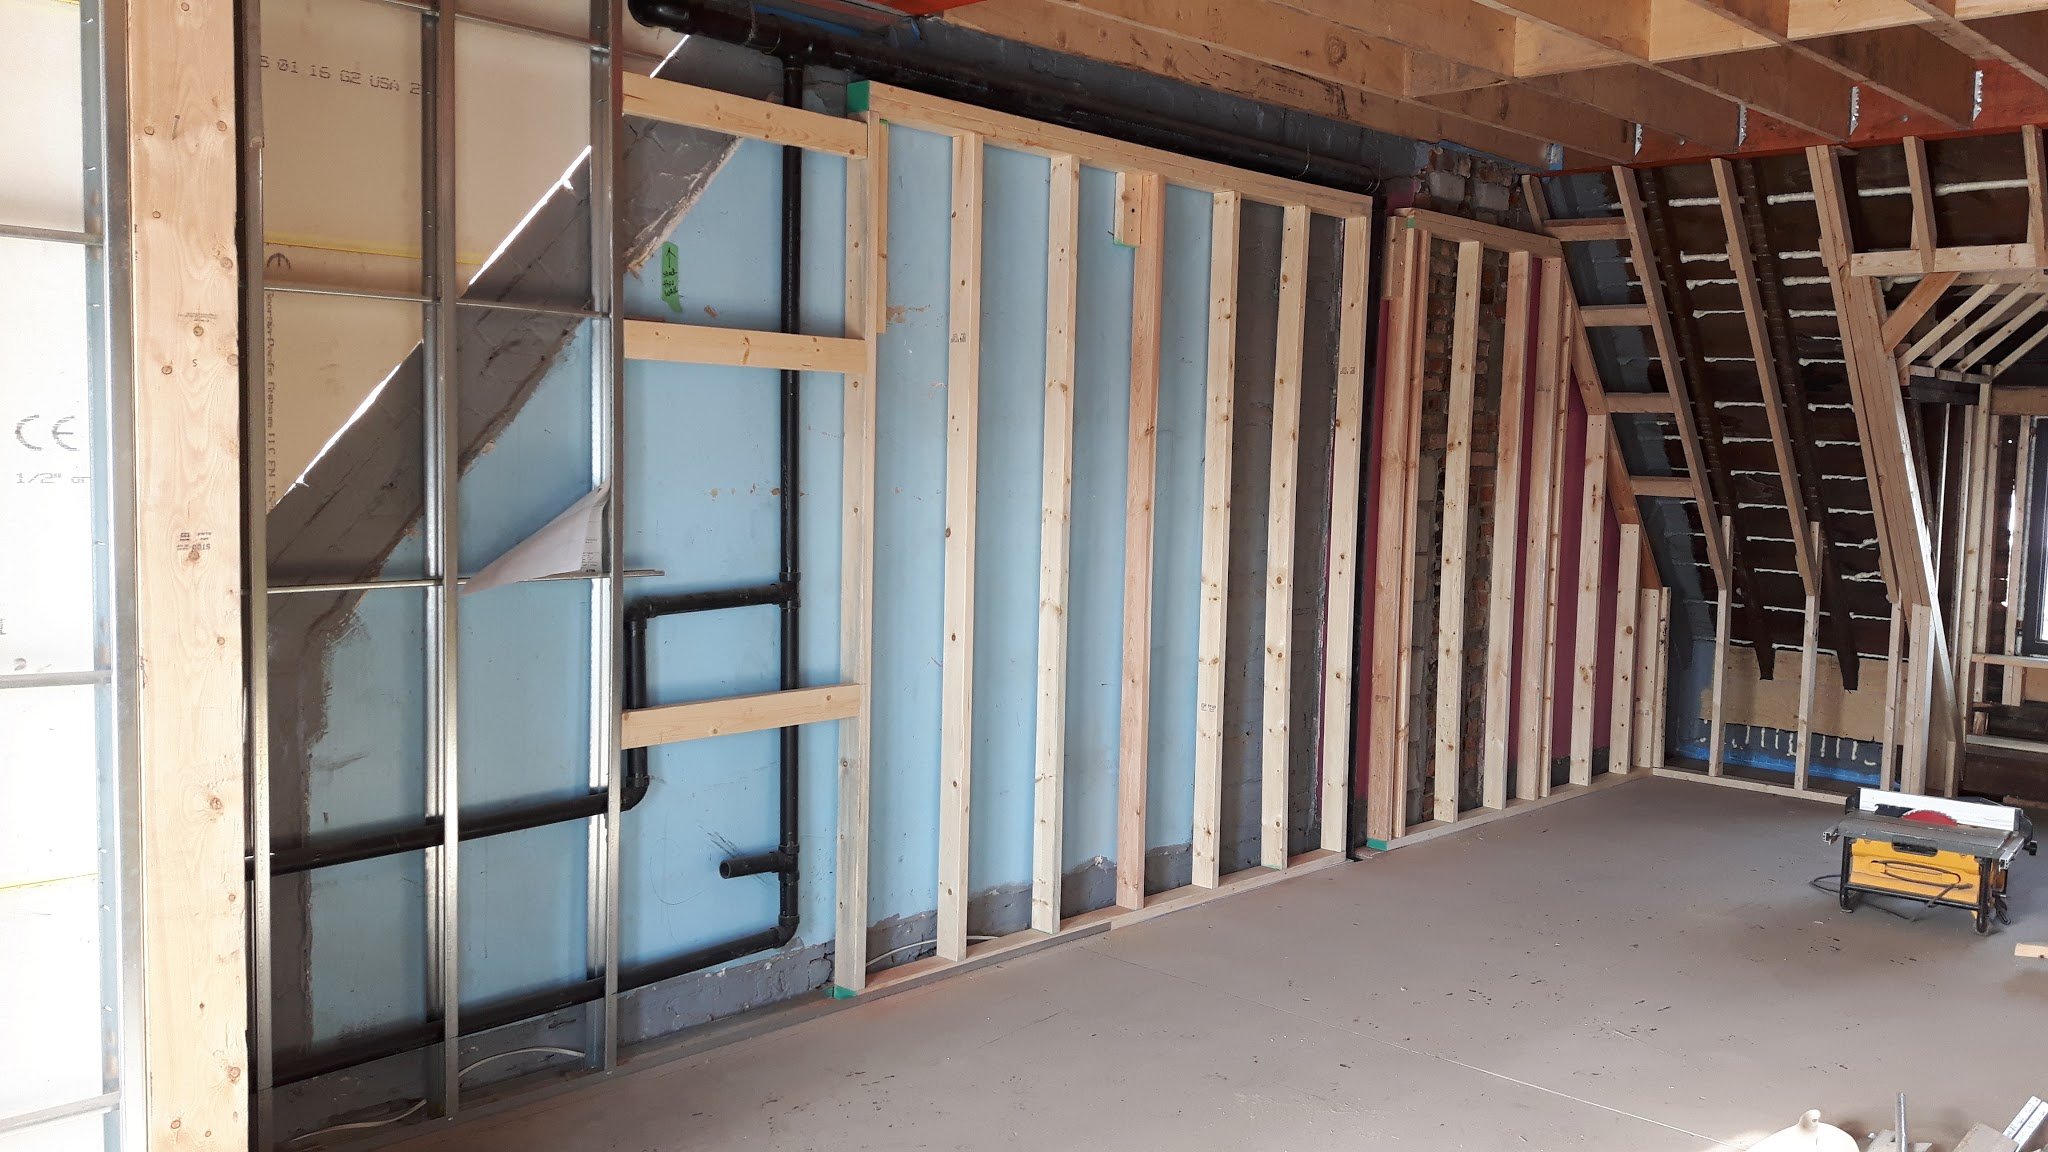
While the excavation endeavour was underway, our two carpenters were doing an amazing job inside, cutting and replacing joists, building new walls, sistering the main floor, and building a new stair and brand new floors on the second and third floors.
For those of you who don’t remember, sistering a floor means pairing every original floor joist with a brand new joist, to reinforce and level the floor. Though we kept and sistered the main floor joists, the second and third floors were completely replaced. Usually, we try and keep the floors original when we can, to save money and time. However, these top two floors were over-spanned, which made them bouncy, saggy, cracked, and generally in poor shape. A floor is over-spanned when there is too much space between supporting walls. When a floor joist is working overtime by being stretched between supporting beams, floors can become uneven, bouncy, and creaky. Plus, since we were moving the stair to along the eastern wall, ripping up floor joists as we went, we figured it was worth it to build a whole new floor, rather than try and save the handful of joists left over!
-
After that, our concrete subs and mason did a TON of masonry work, finding seemingly endless amounts of brick to fix. They had to scrape out all the unsound, damaged, and crumbling bricks and joists, and parge (fill in and smooth holes with cement or mortar) nearly all of the exterior structural walls. Think the architectural equivalent of a dinosaur skeleton at the ROM – All that was left was a shell of the old house, and even most of those bones were parging and cement!
Finally, with the house in structural shape, we were ready to tackle the house’s interiors and systems. Next time we talk about this project, we’ll be putting the “electric” and “efficient” in this all-electric, super-efficient house, by talking about our electrical and plumbing systems.